How To Build a Low-Cost Cedar Garden Bed
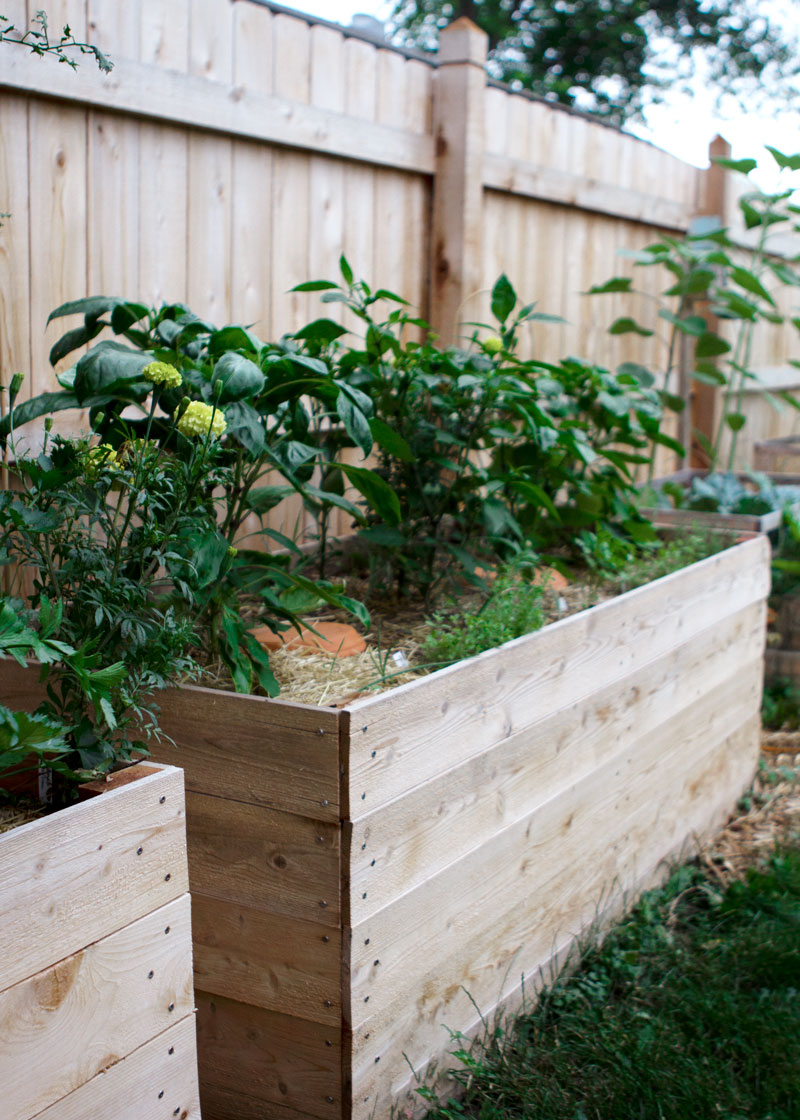
Raised garden beds allow a garden to be planted almost anywhere! The concept dates back to ancient cultures in 300 b.c. Pre-Hispanic cultures in South America from Columbia to Bolivia employed the raised bed concept waru waru to prevent erosion and improve irrigation. Other methods like hügelkultur have been used for thousands of years and also apply the concepts of raised bed gardening. In medieval times beds were edged with wattle fences. Fast forward 500 years, the Parisian market gardeners of the 18th Century built up their plots using horse manure that was abundant during a pre-motor vehicle city. Raised beds have always been a popular method of gardening because of their manageability.

Waru Waru
Image Credit: Blog de Historia General del Perú
Advantages
• Control Over Soil
• Ergonomic
• Better Drainage
• Less Soil Erosion & Compaction
• Soil Warms Quicker in the Spring
Drawbacks
• Building Costs & Labor
• Requires More Water
• Can Reduce the Amount of Usable Square Footage
• Soil Cools Quicker in the Fall
UNTREATED WOOD
Pressure treated lumber is not any stronger than untreated lumber. While pressure treated lumber will resist the elements and rot better due to added chemical preservatives it comes with many concerns. Wood treated with CCA or chromated copper arsenate can leach arsenic, a very toxic compound. Plants growing in the garden bed could potentially take up the chemicals making it unsafe. Untreated wood is the safer, more environmentally friendly choice.
SOFTWOODS
Pine (southern yellow pine/common board), Douglas fir, spruce, and juniper. These softwoods are cost-effective options, but not resistant to rot. They will need to be repaired or replaced within 3-7 years depending on climate.
HARDWOODS
Cedar and redwood are the best choices of wood for garden beds. These are durable, naturally resistant to moisture, rot, and termites. They are known to last 10-20 years. Oak, cypress, teak, beech, hemlock, and walnut are other long-lasting hardwood options. Hardwoods are a long-term investment.
HEARTWOOD
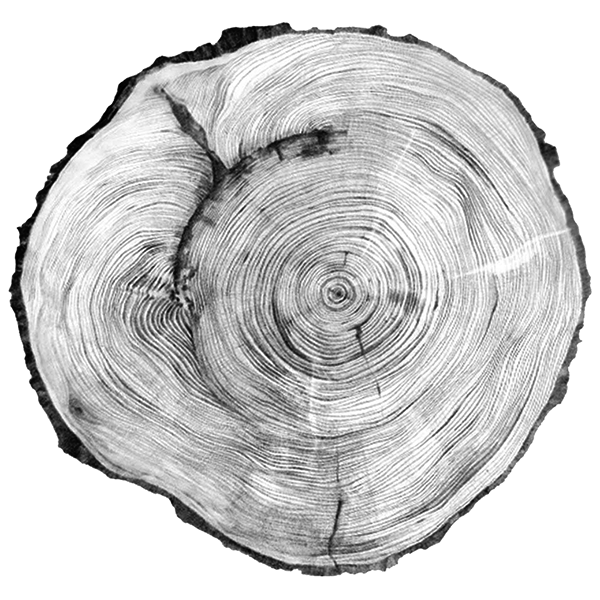
For the best of the best choose the heartwood of the hardwoods mentioned. It’s the most durable and long-lasting lumbar. Although even more expensive, they could last over 20 years! Heartwood is the densest because it comes from the center of the tree. It’s the dead wood that doesn’t feature channels for xylem and phloem, making it more resistant to water and infestation compared to sapwood.
NOT RECOMMENDED
• Railroad ties. The wood is preserved by soaking it in creosote, which is composed of over 300 chemicals, many of them toxic and persistent in soil. Exposure to creosote has been shown to have adverse health effects.
• Reclaimed wood. Only use reclaimed wood if you know the type and if it has been treated or not.
Dimensions
Thickness
The thicker the wood the longer it will last. A 2″ or 4″ thick board will outlast a 1″ board, but a 1″ board will cost less. Either works it just depends on longevity preferences and budget.
Width
Raised beds are best kept to a maximum of four feet wide. This makes it easy to reach the middle without having to step on the soil which can cause compaction. Beds against a wall or fence should be about 2-3 feet wide because you’ll only have access from one side.
Length
The length will depend on your space and needs. Standard raised garden bed sizes are 4×6′ or 4×8′, but adjust the size to your needs and space!
Depth
Raised garden bed should be a minimum of 8 inches deep. Anything less could stunt the growth of plants. Also, the taller the raised bed the more ergonomic. It’s easier on your back the less you have to bend over. That being said, the deeper your raised garden bed the more you have to fill.
Supports
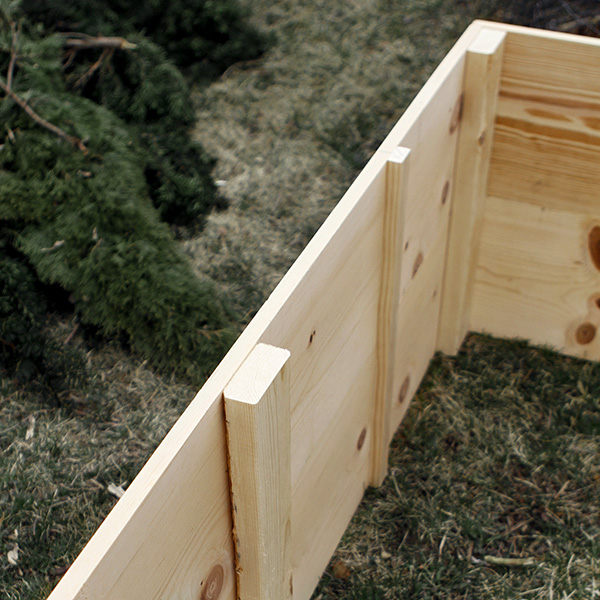
Corner, mid-point, and quarter-point supports.
CORNERS
Add support beams at the corners to avoid structural failure.
MIDPOINTS
If your garden bed is 4 feet or longer I recommend adding support beams between each corner. If you are using thinner boards consider adding more supports. When your garden bed is full of heavy wet soil this will help prevent bowing.
⋆ Stainless steel metal brackets are a good choice too. You can get straight brackets for the mid/quarter points and corner brackets for the intersections.
ANCHORS
To further the support of the garden bed you can create anchors and dig them into the ground. Alternatively, you could dig the entire bed a few inches into the ground. Personally, I don’t find anchors necessary.
Placement
SUN EXPOSURE
Keep track of how the sun hits your yard. You’ll want a sunny location for the garden bed with at least 6-8 hours of direct sunlight. The sun will hit your yard differently over the course of a year.
LEVELING
Level your garden bed. In a level bed watering will be easier, nutrients will be distributed evenly, and soil erosion won’t be an issue.
PATHWAYS
Give yourself room to move. I would recommend at least 2 feet of space around the garden bed. I prefer 3-4 feet so I can move things like a wheelbarrow in and out with ease.
SPACING
Leave space between the garden bed and any fencing or walls it might be close to. This will keep the back of the bed from rotting due to trapped moisture.
Weeds & Critters
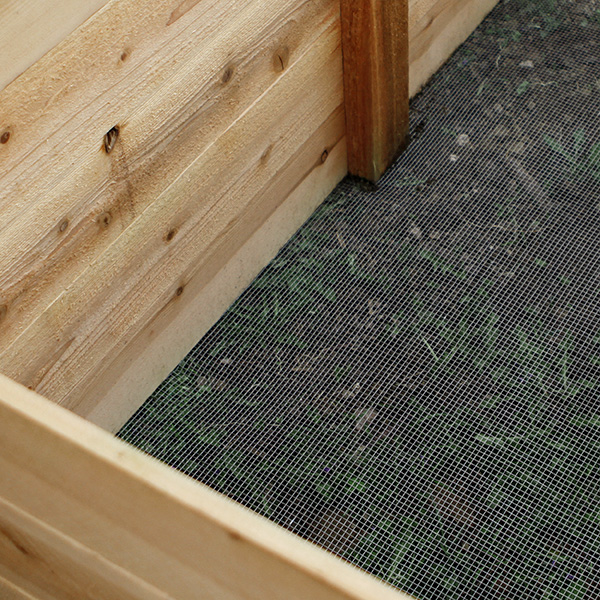
1/4″ hardware cloth.
WEED FABRIC
Weed fabric is an option for those who deal with relentless weeds. I don’t use weed fabric because it can prevent earthworms, which aerate the soil, from developing leading to compacted and unhealthy soil. Also, the fabric acts as a barrier to organic materials biodegrading in the soil, which leads to an unhealthier soil structure. Short-term alternatives are burlap or cardboard.
HARDWARE CLOTH
If you have underground critters like gophers, moles, and voles I would recommend stainless steel 1/4″ hardware fabric to keep them from burrowing into your bed. 1/4″ will keep critters out but still allow root systems to travel deeper.
Tools
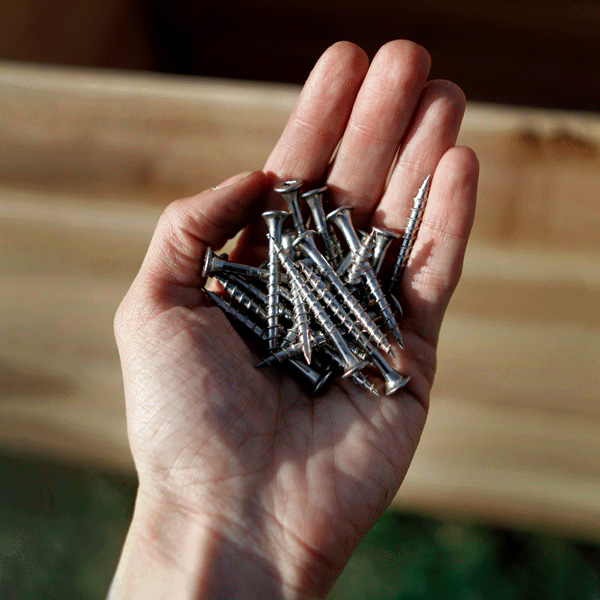
A handful of stainless steel screws.
SCREWS
Screws are what is going to hold the bed together, so it’s an important topic! When deciding what size screws to get the general rule of thumb is that the screw should enter at least half the thickness of the bottom material.
You’ll want to use exterior deck screws because they are made to endure the elements. Some exterior deck screws are not suitable for cedar or redwoods. Coated galvanized screws are susceptible to the tannic acids in these hardwoods.
Stainless steel screws are my #1 recommendation for garden beds because they are not only an excellent environmental choice but also an excellent economical choice. They can be used on any wood including cedar and redwood. The screws are not coated with toxic materials and do not produce toxic off-gas or leach when they are in the wood. Plus, stainless steel is naturally rust, tarnish, and corrosion-resistant.
⋆ Screws with star (torx) and square (robertson) drive recesses resist stripping better than Phillips-drive recesses.
When I built my three cedar compost structures I missed the fine print that the exterior screws I bought were not meant for cedar or redwood. I ended up having to replace 250 screws… learn from my mistake!
OTHER TOOLS
• Power drill – you could also use a hammer and nails, but screws outperform nails because they have more tensile strength. Tensile strength refers to a material’s ability to resist breaking under pressure.
• Miter saw (preferred) or circular saw – an alternative is having the lumber supplier cut the wood for you!
• Clamps – to hold the wood together while screwing.
• Saw Horses (or any flat surface)
• Measuring & Marking Tools – t-square, measuring tape, and a pencil.
• Staple Gun and SS Staples if you choose to add hardware and/or weed cloth.
• Safety Goggles for protection.
Build a Low-Cost
Raised Cedar Wood Bed
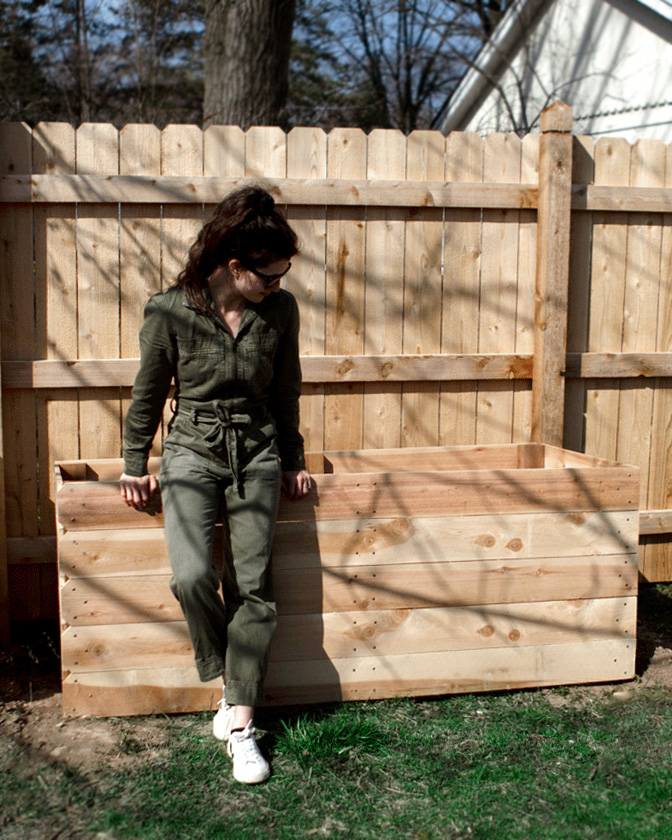
Using cedar fencing and rough cedar to make a garden bed is actually less expensive than using pine! Cedar fencing is only 5/8″ thick but as long as the bed is supported this rot-resistant wood will last a long time. Rough cedar (used for the supports) is also a less expensive option because it is wood that hasn’t been planed.
Cedar fencing is 5.5″ wide and 6′ long with dog ears on one end. If you are not fond of the dog ears they can be removed by cutting an inch off, but I don’t mind them. Below, I am creating a 3’x6′ long bed that is 27.5″ tall using seventeen cedar fence boards and two 2″ 4×8′ rough cedar boards. I wanted something easy on the back so this bed is a little over 2′ tall. The shorter the bed, the fewer boards you will need to purchase.
Step by Step
1
Cut the Wood
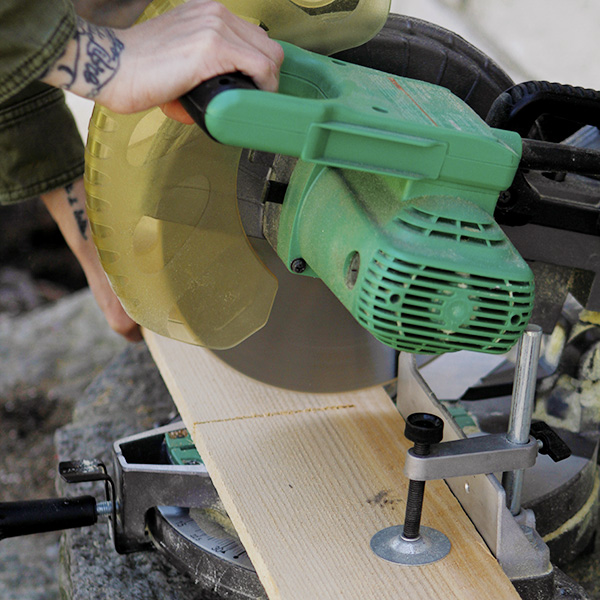
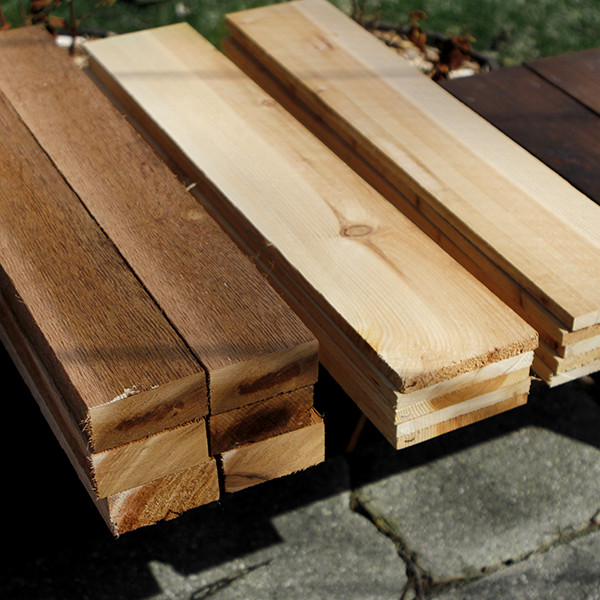
To keep it simple I am working with the dimensions already available at the lumbar yard so I don’t need to make any cuts for the long sides. For the short sides, I am cutting five boards in half making them 3′ each. For the supports, I cut the rough cedar boards into pieces that are the height of the bed. In this case, each one is 27.5″ long – the exact height of five cedar fencing boards stacked on top of each other. Now I have six support beams. One for each corner and both midpoints.
2
Create the Sides
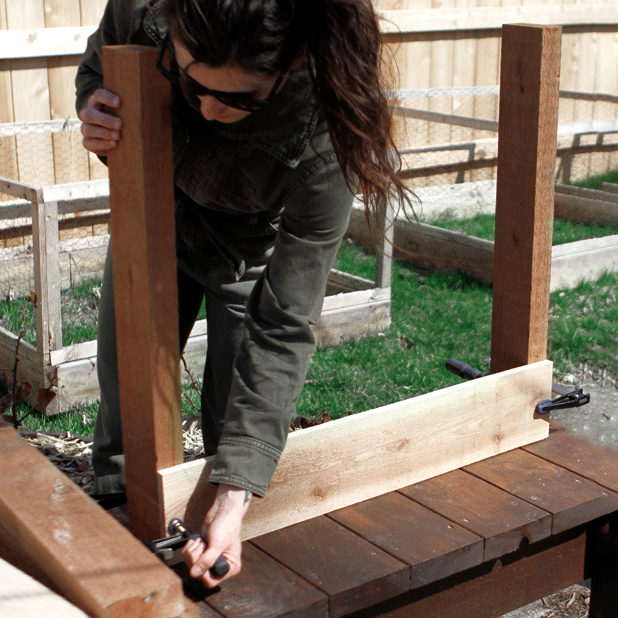
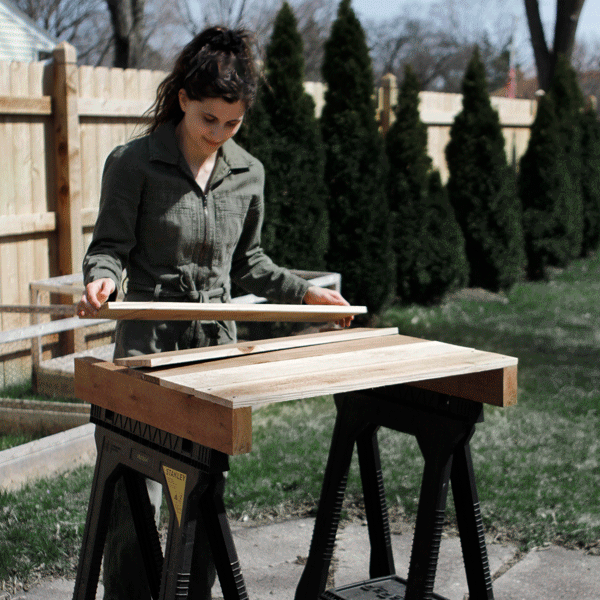
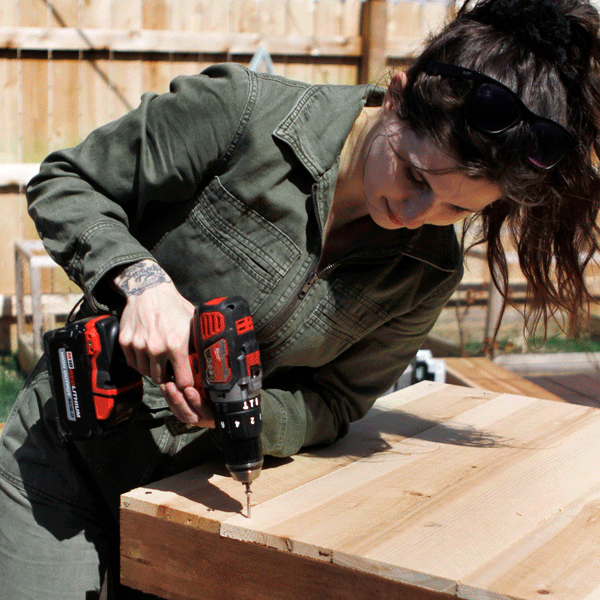
We’re starting with the shorter sides because it will make attaching the long sides, the front and back, easier. To create a short side, start by attaching a sideboard to two support beams using clamps. Once the first piece is secured, align the rest of the sideboards and secure them with screws. Repeat this process to make a second short side.
3
Create the Front & BACK
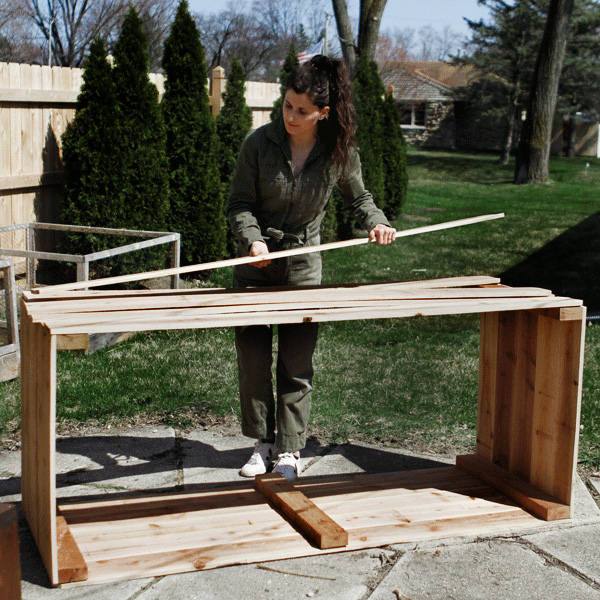
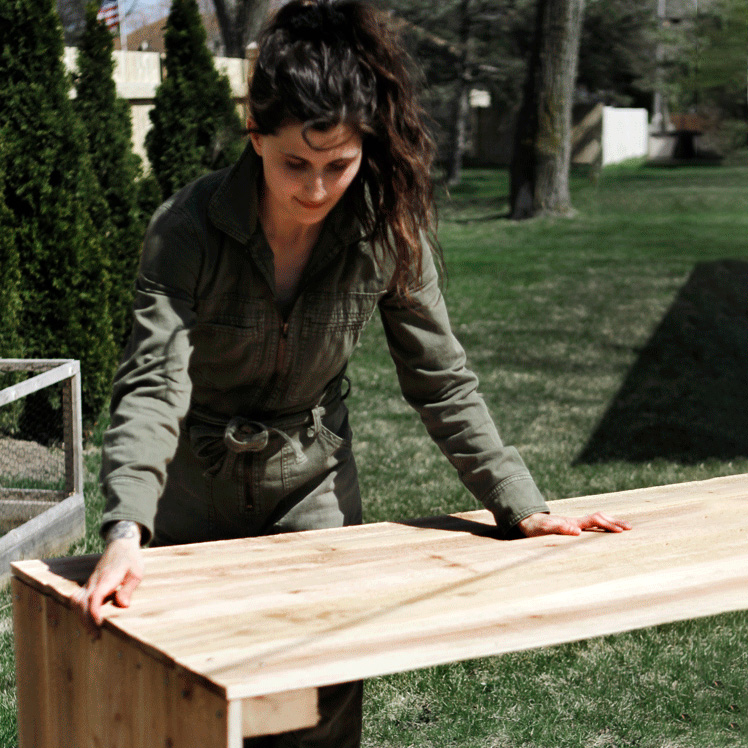
Now that the short sides are made stand them sideways across from each other and lay the long boards across. Because these fencing boards can be a bit wonky I flip and swap pieces until they align adequately before I secure them. Once they are aligned they can be secured with screws. Repeat this for the backside.
4
Affix the Midpoint Supports
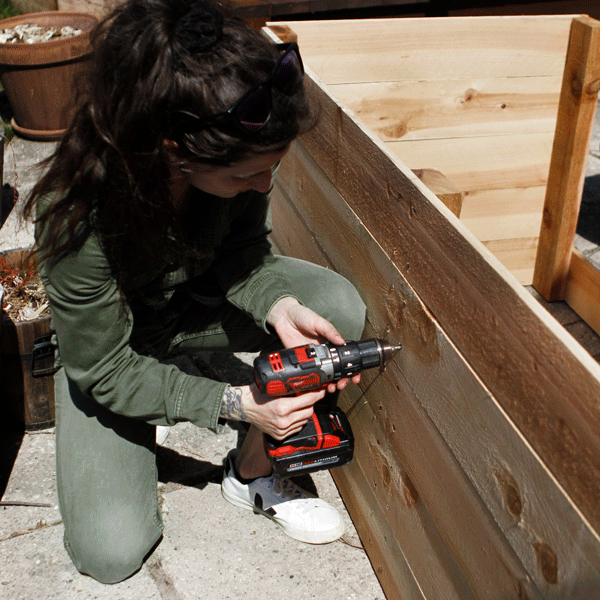
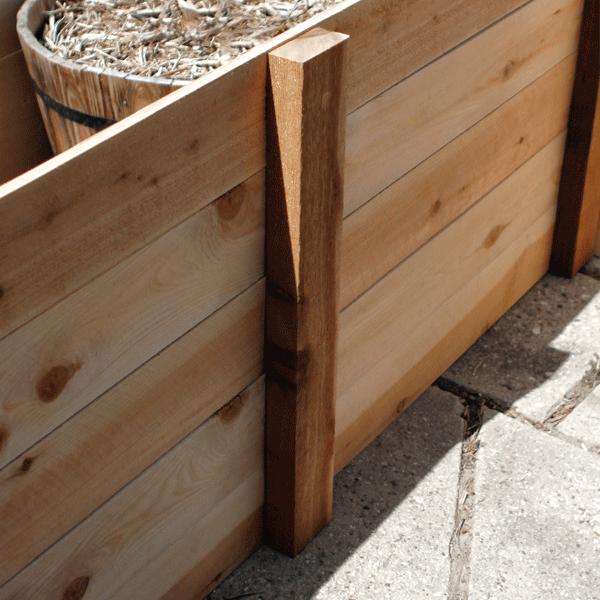
To prevent bowing (especially because cedar fencing is only 5/8″ thick) add a support beam at the midpoint of the front and back (long sides).
5
Secure the Hardware Cloth
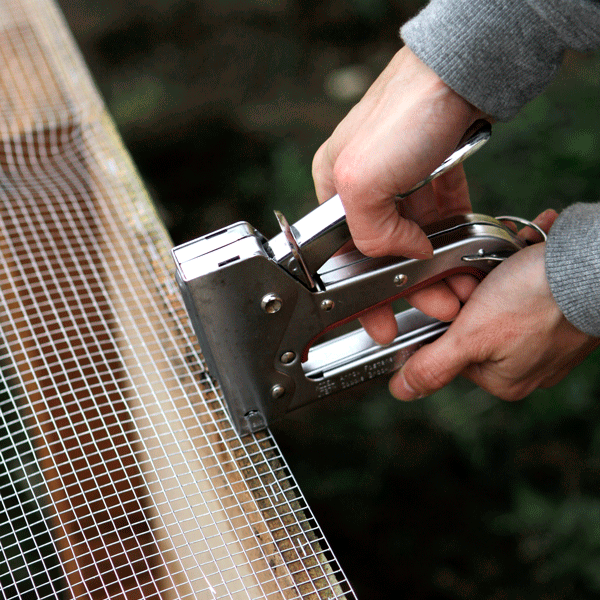
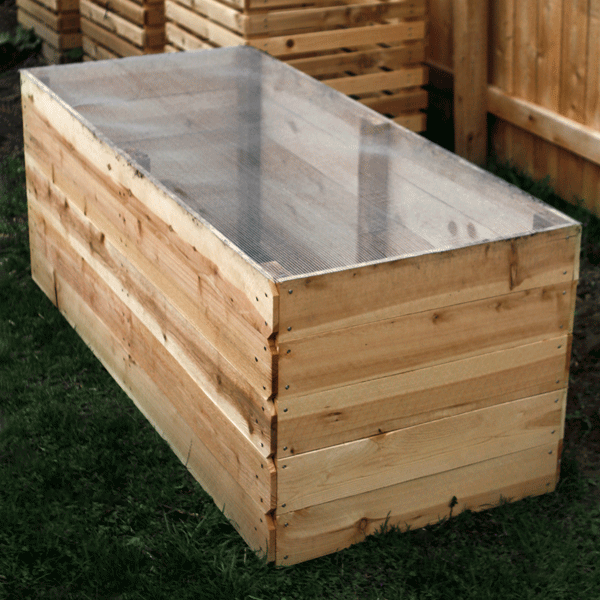
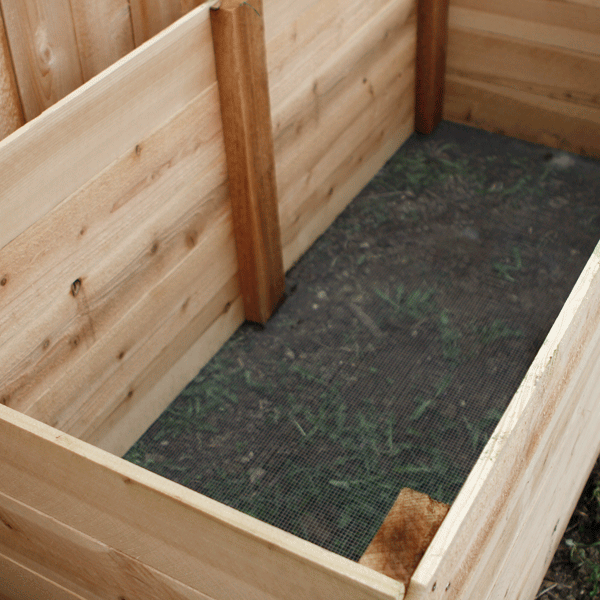
(optional) Attach the hardware cloth and/or weed fabric to the bottom using a staple gun. Use a good amount of staples to ensure critters can’t find gaps to wiggle their way in!
exit the matrix.


Could you please tell me where you purchased the hardware cloth? I can find galvanized, but stainless steel is proving difficult to find.
Thanks!
Hi Chris, I found quarter inch stainless steel metal mesh on Amazon (link). Hope this helps!