How to Raise Seedlings Indoors (Tips & Tricks)
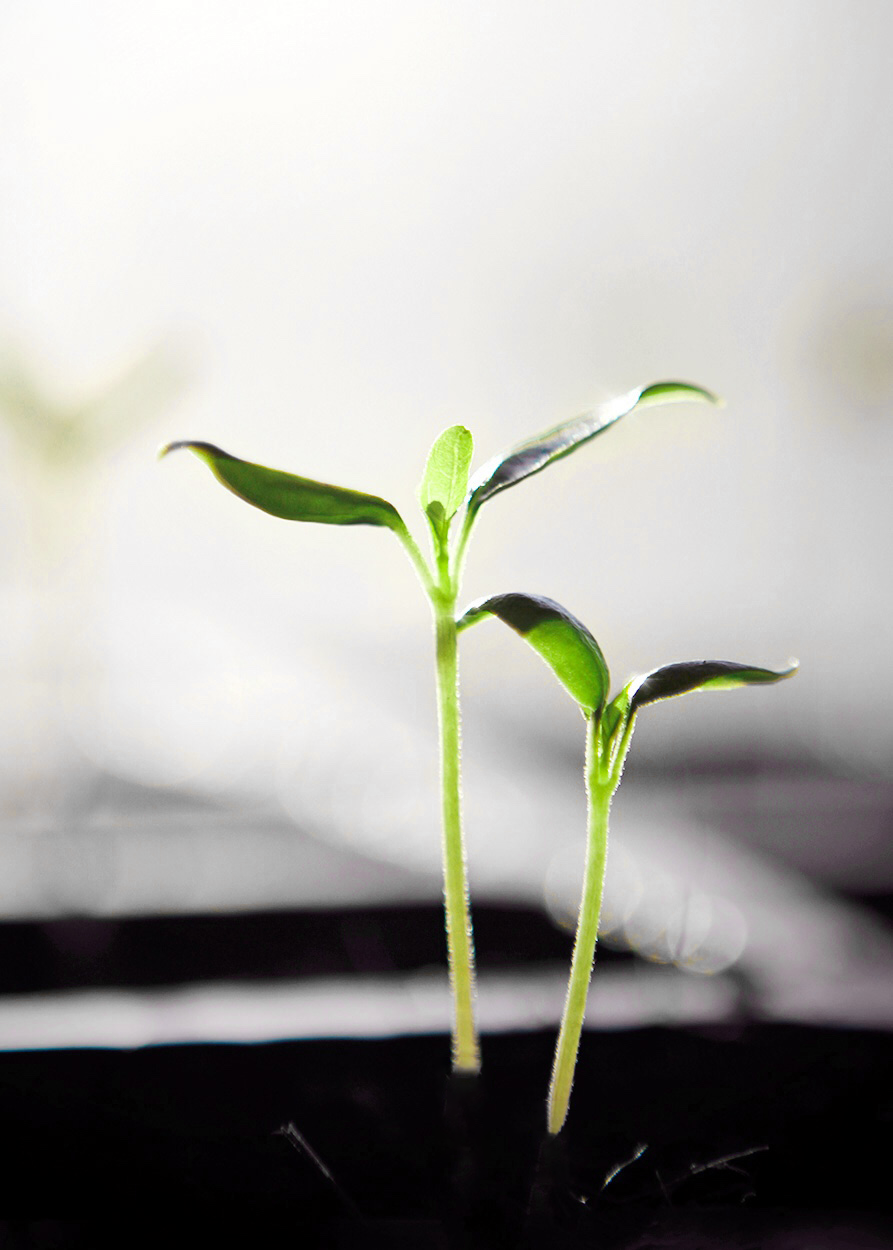
Get a head start on the growing season and enjoy an early harvest and greater yields by starting seeds indoors. In colder climates with shorter growing seasons, starting seeds indoors gives slow-growing crops like tomatoes and peppers a head start to reach maturity. In warmer climates, this practice gives the opportunity to get an extra round of crops before the heat of summer stifles growth. Another perk is the monetary savings. Purchasing seeds is more cost-effective than buying established plants from a nursery.
Affiliate Disclaimer
This website is supported by its audience and contains affiliate links. An affiliate link means I may earn advertising or referral fees at no extra cost to you if you make a purchase through these links. (read more)
RELATED POST: How to Plan your Garden in the Winter
SUPPLIES QUICK LIST
• Seed Starting Mix
• Cell Trays
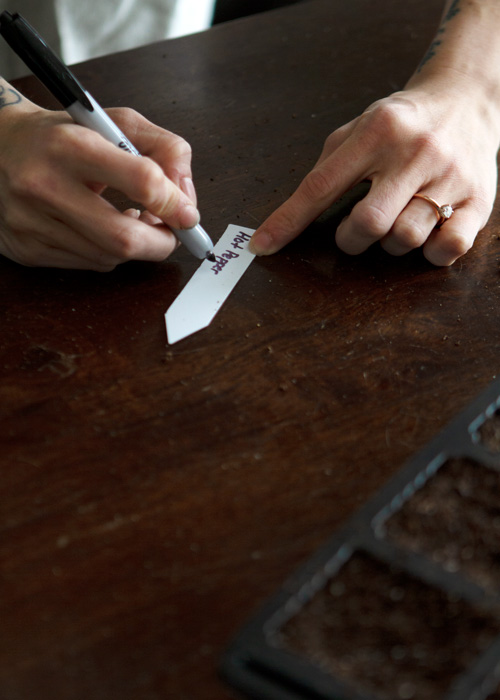
• Reusable Plant Markers
• Digital Thermometer
• Dial Thermometer (for checking the soil temp)
• 4″-6″ Pots (for “potting up”)
• Warming Mats
• Heater
• Grow Lights – LED (there are much more affordable options than these, especially if you choose T5 Fluorescent Lights)
• Timer
• Grow Tent or Grow Rack
• Fan
• Seaweed Fertilizer
• Long Spout Watering Can
*I use all of these products except for the grow rack (because I use a grow tent).
CLEAN SUPPLIES
Before we get started it never hurts to clean your supplies before using them again. I simply:
1. Wash supplies under hot water to remove any residual soil.
2. Spray all supplies with 3% hydrogen peroxide.
3. Let everything air dry before use.
The chances of diseases harboring in used pots or on tools are slim, but it’s better to be safe than sorry. You don’t want to risk damping off, a soil-borne fungus I touch on in the FAQ section near the end of this post.
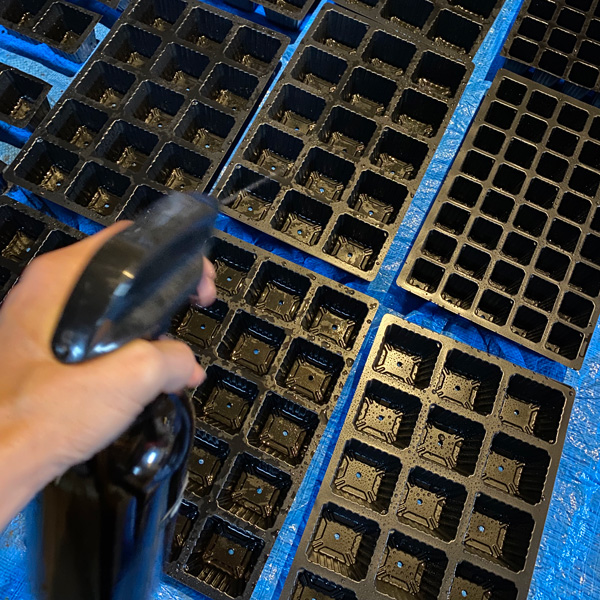
Spraying supplies with 3% hydrogen peroxide.
Seed starting has its own phases of needs. From the germination period to graduating into the natural world, seedlings depend on the elements to survive and thrive. When we start seeds indoors it’s important to create an environment similar to the outside world.
Germination Phase
DARKNESS
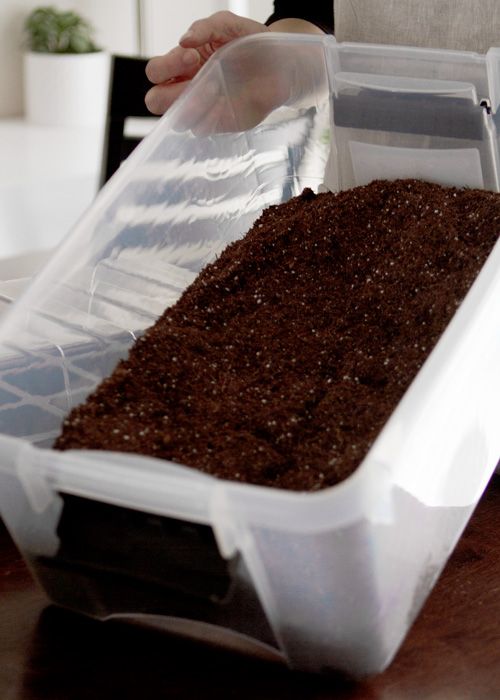
Just as we emerge from the darkness and safety of the womb, seedlings emerge from the darkness and safety of soil. The contents of this dark environment are important to the success of the seed’s germination. Seed starting mix is a light, sterile, nutrient-less medium that allows seedlings to emerge at ease and expand their tiny roots.
WATER
A dark, safe environment isn’t the only vital necessity for germination. Seeds start out dry and dormant but undergo imbibition once they are in contact with water. Water hydrates enzymes in the seed, activating them. This causes the seed to release energy from its food store for growth. Pressure builds in the embryo’s cells resulting in the seed’s coat breaking open.
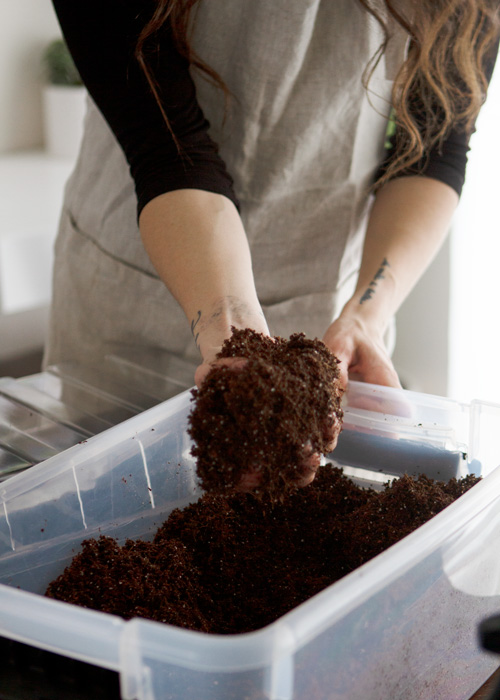
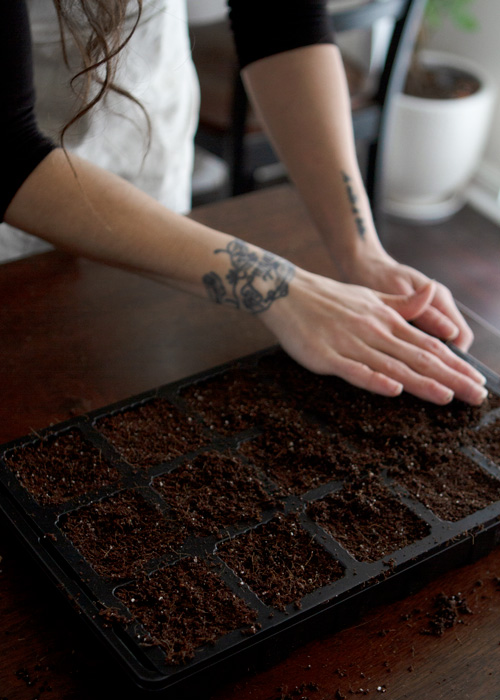
Before planting seeds, moisten the seed starting mix. You will want to fill the cell trays with soil that is fluffy yet damp – think spongy. Too much water will cause seeds to drown or rot. Too little and they will either fail to germinate or die once they do.
Take a gentle approach to keeping the soil moist by using a mister. Humidity domes will keep the soil moist by themselves so this isn’t necessary until they sprout and the dome is removed.
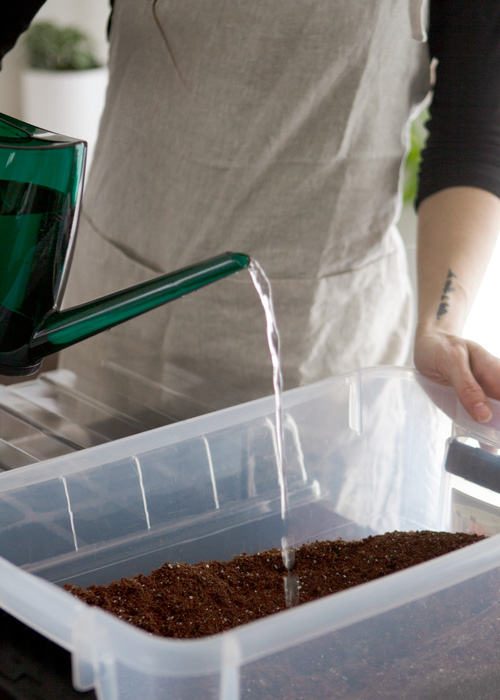
Add water to the seed starting mix.
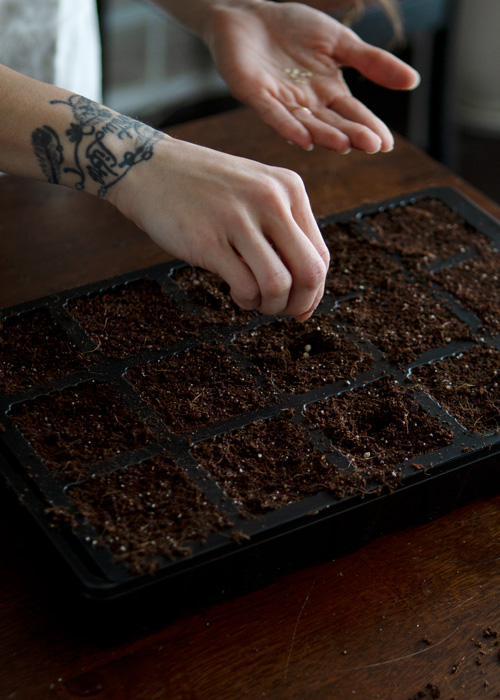
Plant seeds at the depth stated on the seed packet.
Each plant will have different needs at different times so it’s suggested to keep each varietal to one tray. OR you can go about it like me and cut sections out to maximize space (see my photo under the LIGHT section to get an idea of what I mean). You can also purchase smaller cell trays like these: 10 Cell Trays or 6 Cell Trays.
WARMTH
Seedlings need warmth to speed up the chemical reactions that take place in the seed. Warmth also speeds up the making of new cells when the plant embryo is growing.
Most seeds germinate when the soil temperature is between 70°-85°F. Use a dial thermometer to check the soil temperature regularly.
Warming mats are used to gently warm the soil, promoting germination. They aren’t 100% necessary but they do facilitate faster germination. If you choose to use a grow tent you can achieve the same results and forego warming mats by relying on warmth generated from a heater. If you use warming mats you most likely won’t need to use a heater until the seeds sprout.
Once you see the first sprout it’s important to remove the warming mats immediately. Leaving mats on may spur rapid, lanky, weak growth or encourage fungal diseases at the soil level for seedlings past the germination phase.
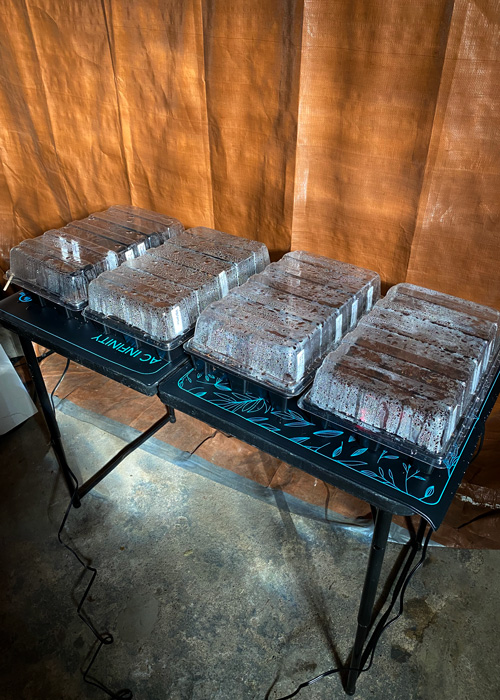
Humidity domes and warming mats ON.
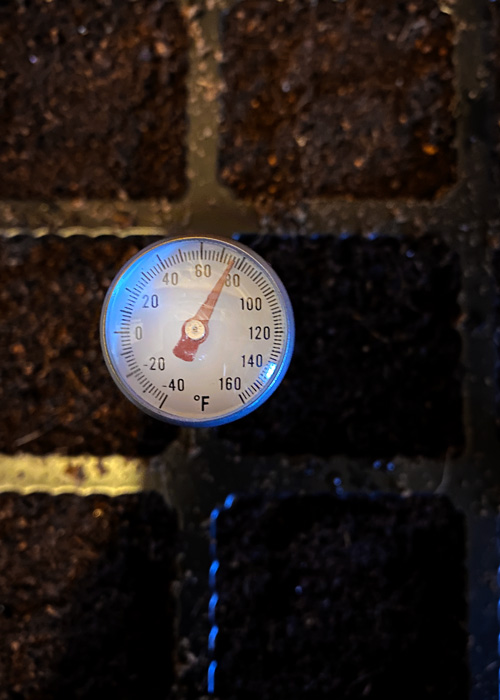
Temperature right where I want it, a little above 75°. Here I am using a dial thermometer.
AIR
Another vital necessity for seed germination is oxygen. This allows seeds to produce energy which takes place when the embryo breaks down its food store. This process is known as aerobic respiration – a series of reactions where energy is released from glucose, using oxygen.
Once a seed sprouts remove the cover immediately so air can circulate around seedlings, minimizing disease problems and allowing the plant to breathe.
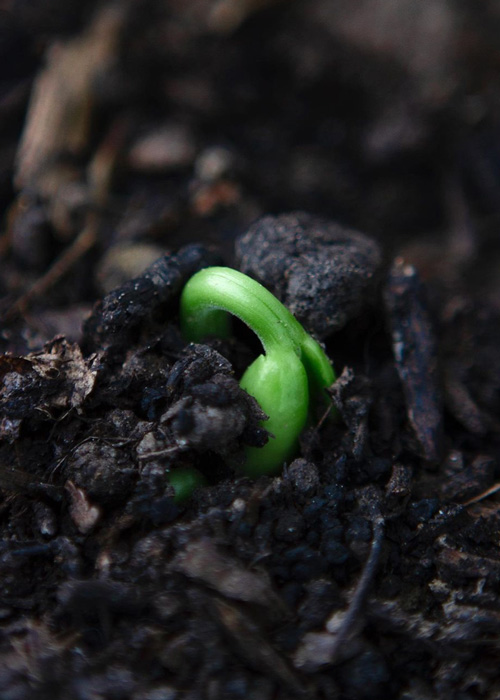
The first signs of sprouts. Time to get these little guys under the light source.
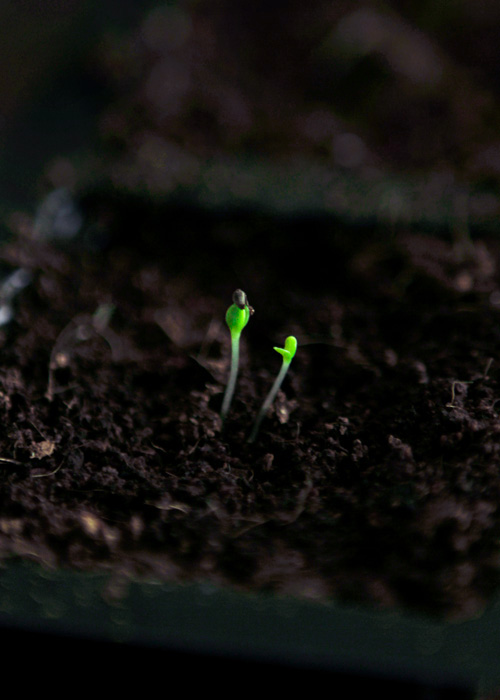
Cute little Zulu Prince Cape Daisy flower sprouts!
Seedling Phase
LIGHT
Once a sprout is visible it’s crucial to get it under the light. Unfortunately, a south-facing sunny window alone won’t provide enough light for starting seeds indoors. There are a couple of things to keep in mind when using artificial lighting:
To prevent leggy seedlings make sure the distance from the top of the plant and light source is not too far but not too close. Too far and the seedlings will stretch trying to reach the light causing weak stems. Too close and the light can burn the plant. Instructions from your lighting supplier or a simple google search can help determine the amount of space needed.
Seedlings need 14-16 hours of light during the daytime, followed by 8-10 hours of darkness. A timer can make managing daylight and darkness easy.
Choosing a grow light can be overwhelming but it doesn’t have to be. LED lights are generally more energy-efficient, cost more upfront, and emit more lumens. Some gardeners will still recommend T5 fluorescent lights for plants.
I’d say choose lights based on your growing space. It’s typically recommended to suspend LED lights significantly higher above plants than fluorescent lights, making them good for grow tents. T5 fluorescent lights can be kept only inches above plants making them more ideal for grow racks.
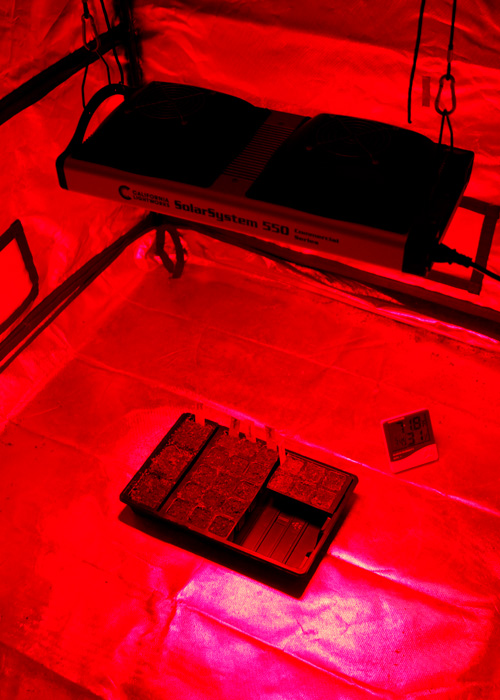
The first sprouted seedlings of the season under the LED grow lights.
WARMTH
Now that the seed has sprouted it’s time to revisit warmth. Once germination occurs, the optimum growing temperature for the seedling is about 10° cooler than the optimum germination temperature.
Since the warming mats are no longer useful, I use a heater set outside the grow tent to manage the temperature inside. Maintain the optimal growing temperature until transplant day.
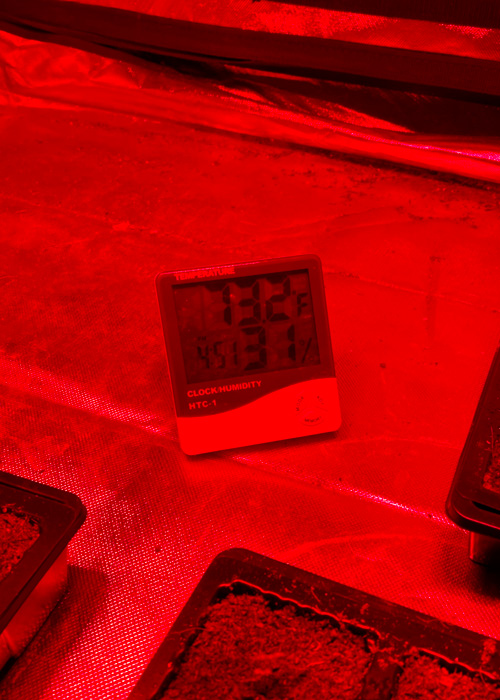
This digital thermometer is also great for keeping an eye on humidity levels. It’s important to lower the humidity level to 30-50% once they are past germination. Any humidity level over 60% could potentially damage the plant.
I had a mold problem one year after I neglected to create proper airflow and left the temperature too high. The humidity ended up surpassing 70%, yikes!
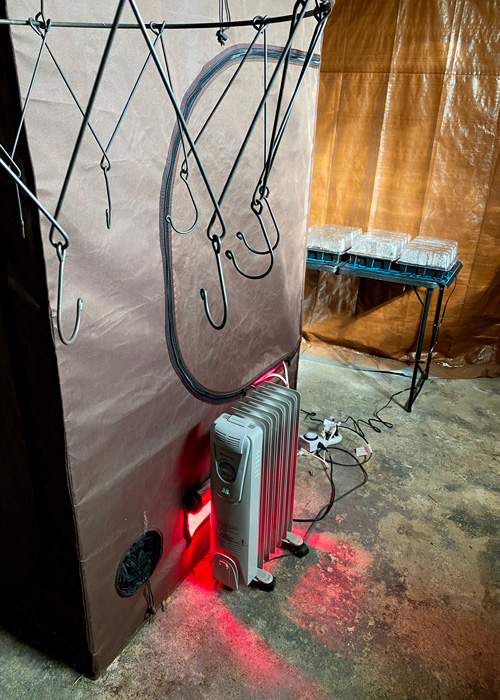
The heater is placed by one of the grow tent’s air vents.
WATER
Once seedlings have sprouted, to encourage strong roots practice the bottom watering technique. Rather than watering from atop, water is poured into the bottom cell tray and the moisture wicks up through the drainage holes to growing roots. It wets the soil mass completely without dry pockets. After 30 minutes to an hour dump the remaining water so the cells don’t sit in it. A good indicator that the soil had its fill is when you start to see the water surface on top of the soil.
It’s recommended to bottom water in the morning or in the evening. The best water is either rainwater (*best* full of minerals and slightly acidic) or distilled water (the purest form).
This watering can with a bottlenose is perfect for for this practice.
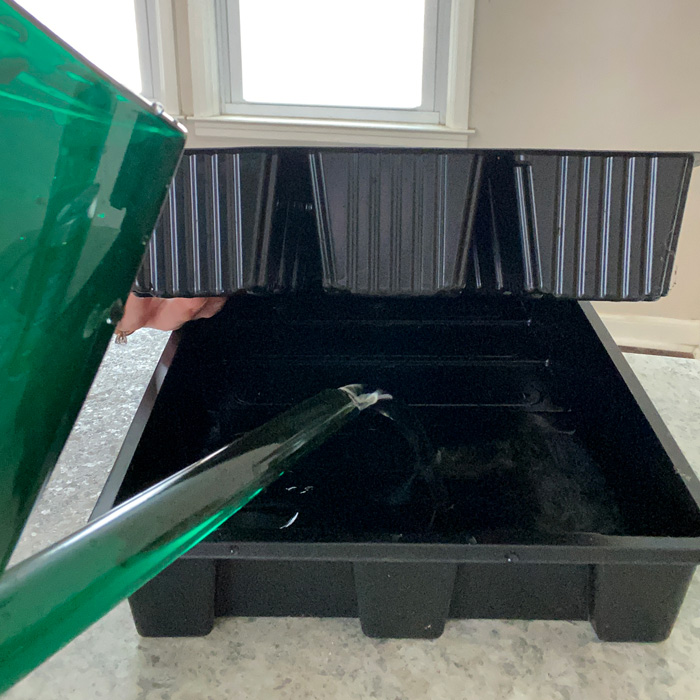
Bottom watering.
*detailed bottom watering guide coming soon*
WIND
To prevent disease and weak stems a fan acts as the wind does outside. The wind is a protector and strength-giver for seedlings. It circulates the air which inhibits mold from forming or spreading by moderating the temperature and humidity. The wind also encourages strong, sturdy stems – the foundation for an abundant harvest of flowers or fruit.
Not too long after sprouting set up a fan. Leave it on throughout the day to create a gentle breeze. The fan should be used up until hardening off beings or transplant day.

Vegetative
Growth Phase
NUTRIENTS
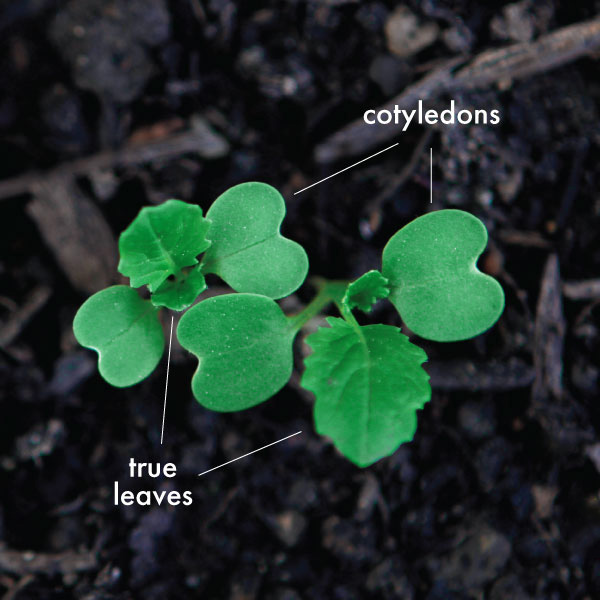
About 3-4 weeks after germination the first sets of “true leaves” will appear. Once the seedling has established 2-3 sets of true leaves it’s time to start feeding them a light fertilizer. Organic, sustainably sourced seaweed extract is a mild, earth-friendly choice.
A diluted mixture at half-strength is used for seedlings (if using the recommended brand that’s about an ounce per one gallon of water). The next time the seedlings are thirsty feed them with the mixture using the bottom watering technique in place of water.
Use the diluted mixture for the first few weeks every two weeks. Eventually (follow brand’s instructions) you can use the fertilizer at full strength every week until transplant day. At this point, I like to alternate between the seaweed extract and the fish fertilizer every week.
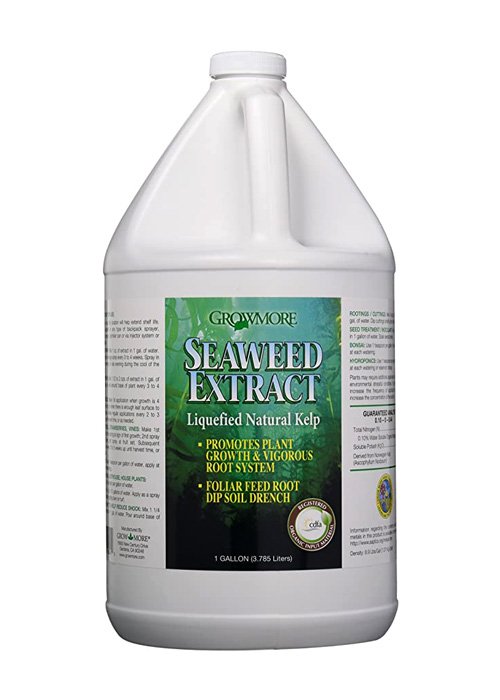
Grow More seaweed fertilizer, comes in many sizes.
true leaves
When a seed germinates, the first set of little leaves that emerge, often heart-shaped, are not the true leaves. These are the cotyledon leaves, also known as embryonic leaves. The two leaves following the cotyledon are their “true” leaves. Those leaves will more closely resemble what the mature leaves of the plant will look like.
SPACE
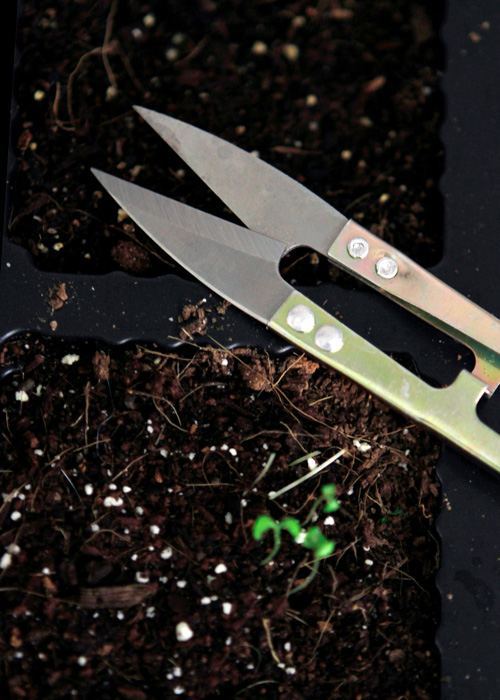
Nothing hurts more than snipping perfectly healthy seedlings, but it has to be done. When seedlings are a little taller and established thinning is a must so the seedlings are not overcrowded and competing for water and nutrients. I like this fine pruning snips tool for thinning seedlings. Alternatively, you can just pinch the stem at the base. You do not want to pull seedlings out of the soil because this can damage the delicate roots of the seedlings you want to keep.
Eventually, many of your seedlings will need to move out of their cells and into a roomier container. Potting up describes the process of re-planting a seedling into a larger pot.
Trust your intuition when deciding when to pot up. If you think it’s time for a larger space you’re probably right. Does the plant look happy and healthy? How big is it? Has it slowed or has it been growing steadily?
Another good indicator is when the roots are just poking through the drainage holes at the bottom of the cell tray. If you wait too long though, the roots can become root-bound making the plant less likely to flourish.
It’s also important to pot up because as plant roots grow longer they drink more water and dry out more quickly.
Potting up also feeds the plants. We began with a seed-starting mix but now we are planting them in richer, heartier potting soil with more nutrients.
Herb snips for thinning seedlings.
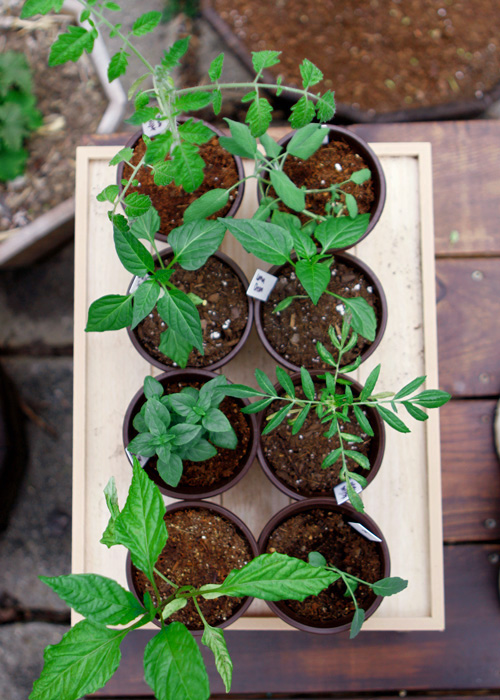
These plants started out in cell trays and have moved into larger individual pots.
Transplant Phase
SUN
For a short period of time, a seedling needs to harden off to prepare for the outside world. It’s a process that involves gently weaning seedlings from their indoor environment and acclimating them to the harsh reality of the outdoors where they’ll experience the sun, wind, and weather.
Harden off plants two weeks prior to transplanting. Start in small increments. The first couple days leave the seedlings outside for 1-2 hours in the evening or morning when the sun is less brash, or in a shaded area. Increase time spent outside over the course of two weeks. Eventually, they will be able to spend all day outdoors making them ready for transplant.
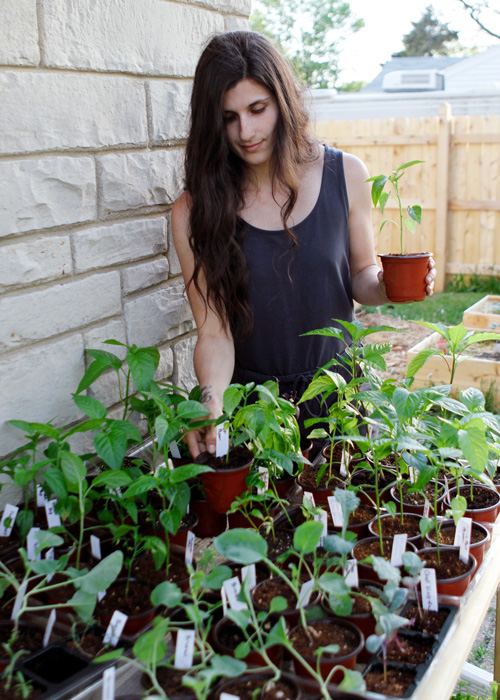
At first, the plants are placed in a shady spot where the sun isn’t so harsh.
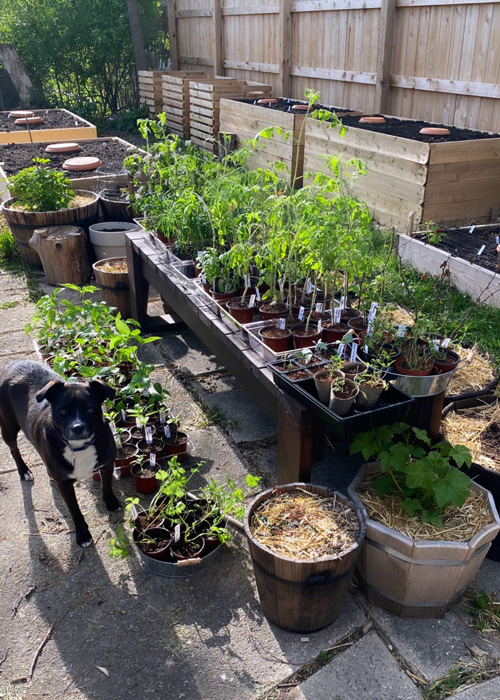
Eventually, the plants can bask in full sun.
EARTH
It’s finally time to integrate the seedlings into the natural world. Make sure your plants have at least 3 or 4 true leaves before you consider transplanting. Temperatures should be consistently warm and out of danger of frost.
To ease seedlings into the Earth spray a seaweed fertilizer on the roots to prevent transplant shock.
It’s also recommended to perform transplanting during the evening or on a cloudy day. This way, plants have a chance to settle in without being in direct sunlight.
Some plants like tomatoes can be buried deep (2/3 their height) because they have tiny bumps on the stems called adventitious roots. This means roots form on the upper part of the plant (the stem, leaves, branches) instead of the main root ball allowing them to grow a deeper and more extensive root system. This gives plants an increased ability to take in water and nutrients, resulting in a healthier plant that is less susceptible to drought, disease, and pests. This technique also allows them to have a sturdy structure – perfect for supporting hefty plants.
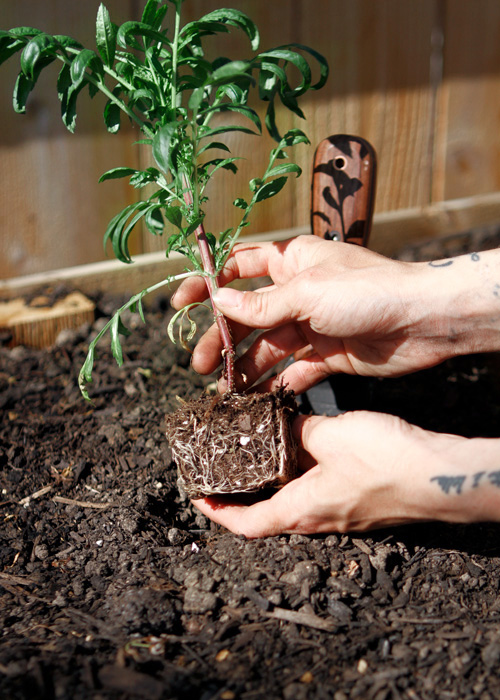
Healthy white roots! If you look closely you can see little bumps on the stem which means this marigold plant can be planted deeper.
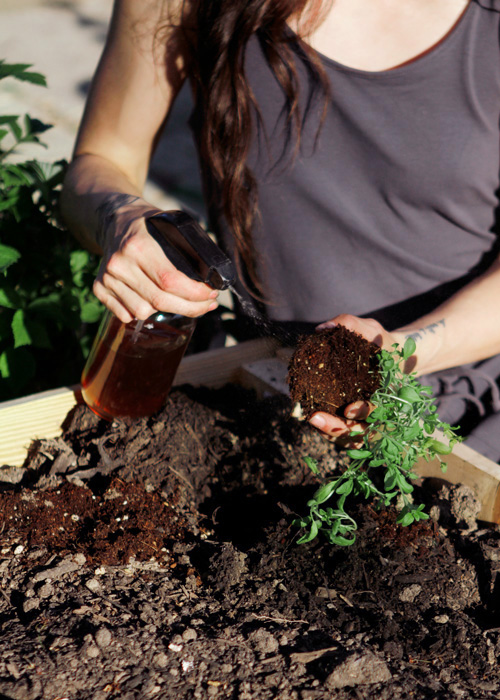
Spraying seaweed fertilizer on the roots before planting it in the soil.
FAQ
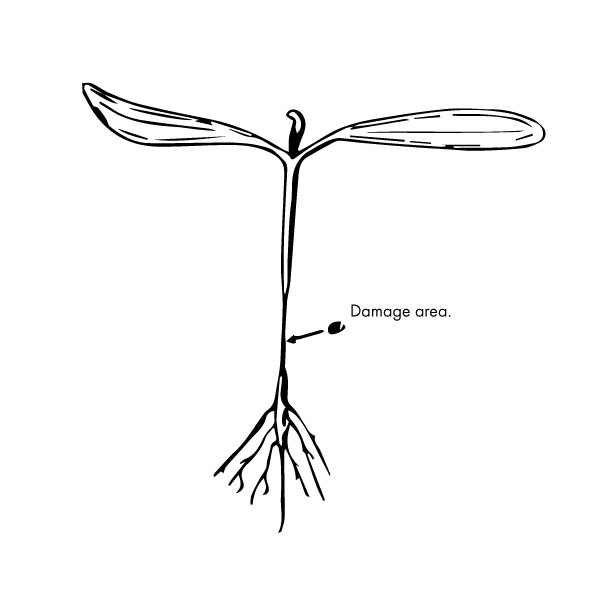
My seedlings are seemingly keeling over. They look like they were bent over at the soil line. What should I do?
This is most likely caused by damping off. It is a soil-borne fungus, caused by several different pathogens, that attack and kill seeds or seedlings before or after they germinate. It is most prevalent in wet and cool conditions. Unfortunately, there is not a cure, and the seeds won’t resprout. Start over with clean containers and sterile seed-starting mix. Allow the soil surface to dry out slightly between waterings, and place a fan in the room for good air circulation.
Fuzzy white growth or slimy green patches are forming on the surface of the soil, what should I do?
It’s most likely mold and algae growth. Although generally harmless to the seedling, they both indicate that the seed-starting mix is too wet. Allow it to dry out slightly between waterings and set up a fan to gently increase air circulation.
If white mold is growing on the plant, it’s most likely due to too much humidity. Create proper airflow and make sure the growing space is not too hot. Take action before it spreads and kills the plant. My mold issue got so bad I resorted to this fungicide which remedied the situation and killed the mold however some plants were so far gone it was too late. Below is a photo of the aftermath of a plant that didn’t survive the mold outbreak:
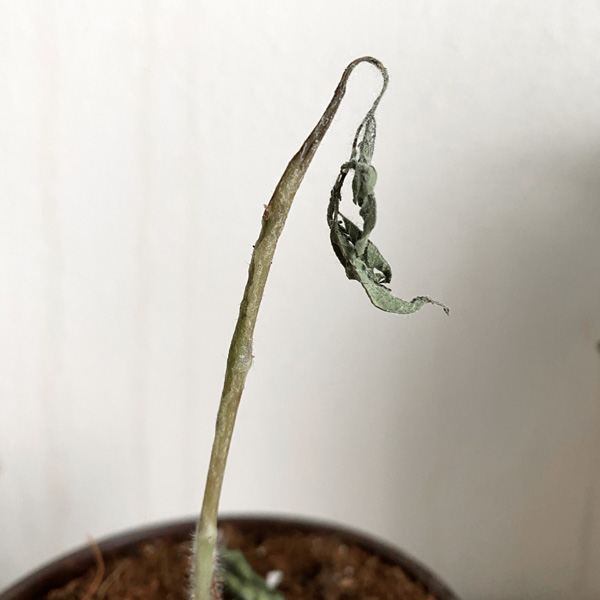
Sad. 🙁
My seedlings have pale, stretched-out, weak stems. What should I do?
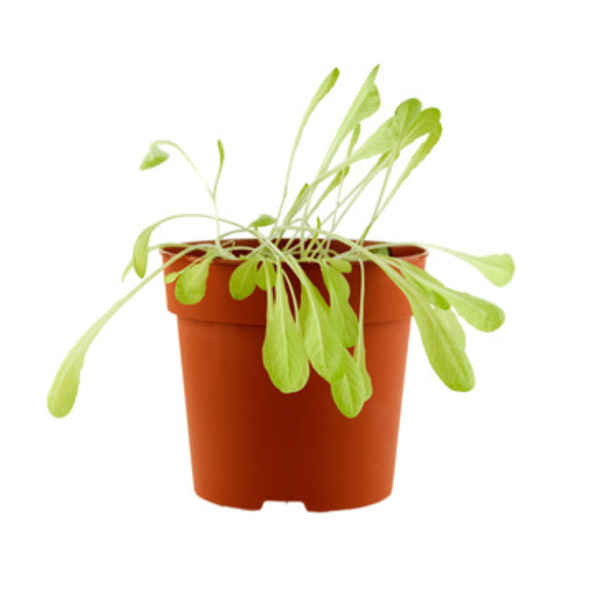
These are referred to as “leggy” seedlings often the result of inadequate light, both in intensity and duration. Leggy seedlings have weak stretched-out stems and typically are flopping over because they cannot hold themselves up. Make sure seedlings are getting 14-16 hours of light per day along with placing the light source at the appropriate height from the seedlings. Leggy plants can also result from too warm temperatures and overcrowding.
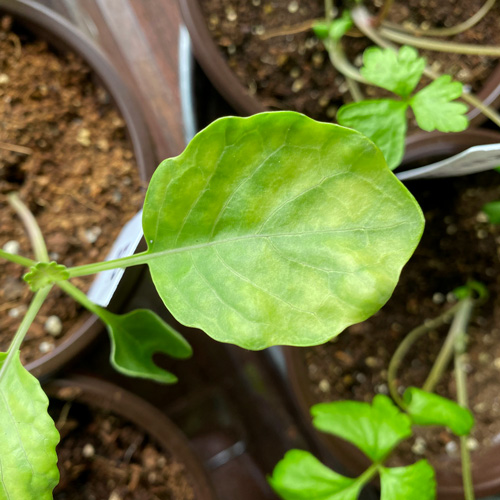
My seedlings have discolored leaves, what should I do?
If seedling foliage is pale green, yellowish-green, or has a purple cast to it, the seedlings are most likely in need of a nutrient boost. Begin lightly fertilizing seedlings when they have a couple of sets of true leaves. Use a diluted (half-strength) mixture for the first few weeks (follow the brand’s instructions).
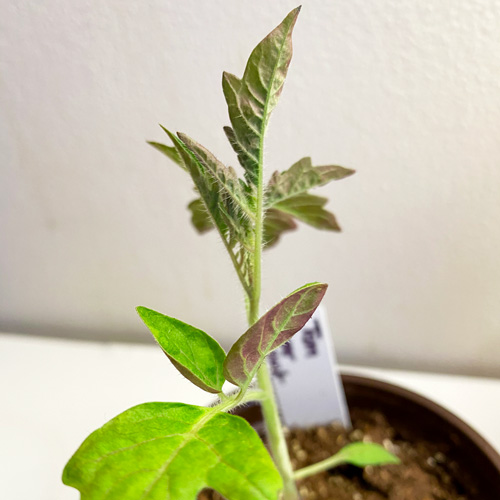
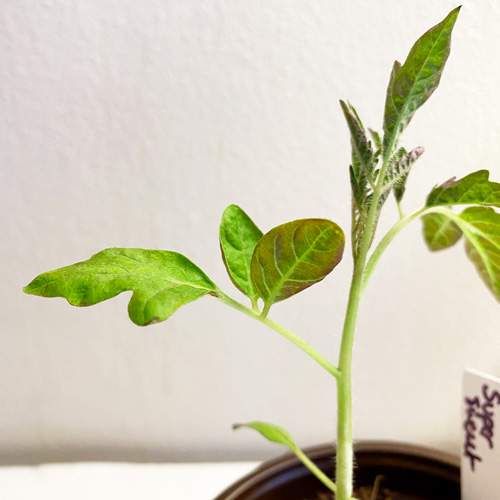
My seedlings have pale/white leaves, what should I do?
This is most likely the result of “sunburn.” Make sure your light source is the appropriate distance from the canopy of the plants.
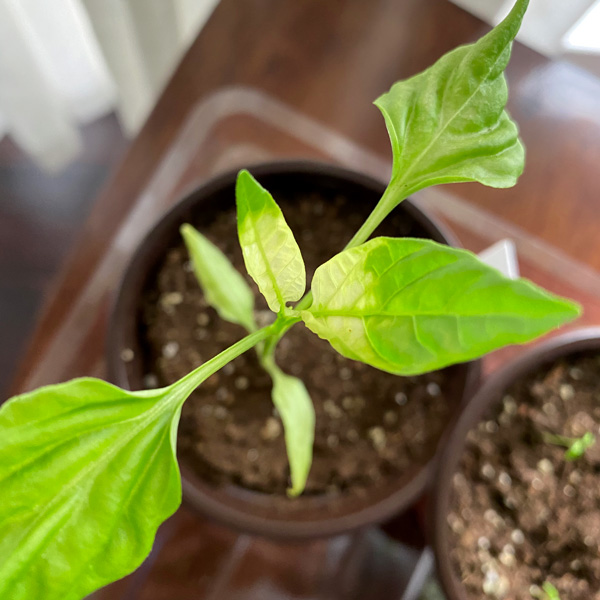
My seedling’s leaves are curling, what should I do?
It could be because of too little or too much water – use a moisture meter to gauge water needs. It could also be a lack of nutrients or too much heat.
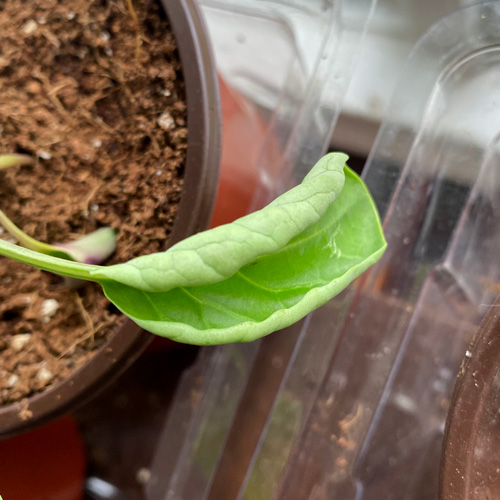
My seedling’s leaves are soft, turning yellow, and fading to pale green what should I do?
These symptoms together mean that your plant is overwatered. You could either repot the plant to remove soaked soil or let the soil dry out and water less. Usually, lower leaves drop first, although the whole plant may be affected.
A seed sprouted but none of the other seeds in the cell tray have sprouted, should I wait to turn off the warming mats?
You’ll want to get the tray under the light and take the greenhouse cover off as soon as you see the first sprout regardless of the status of the other cells of that variety. Those other seeds will continue to germinate even if you remove the warming mat and humidity dome.
I might lose some people here, but my last piece of advice is to speak to your seedlings. Say encouraging words or sing to them, they are listening in their own unique way. Sound is perceived as vibrations and your kind voice will help them grow and flourish. 🌱
Happy sowing!
exit the matrix.



0 Comments