Irrigate like the Ancients with Homemade Ollas
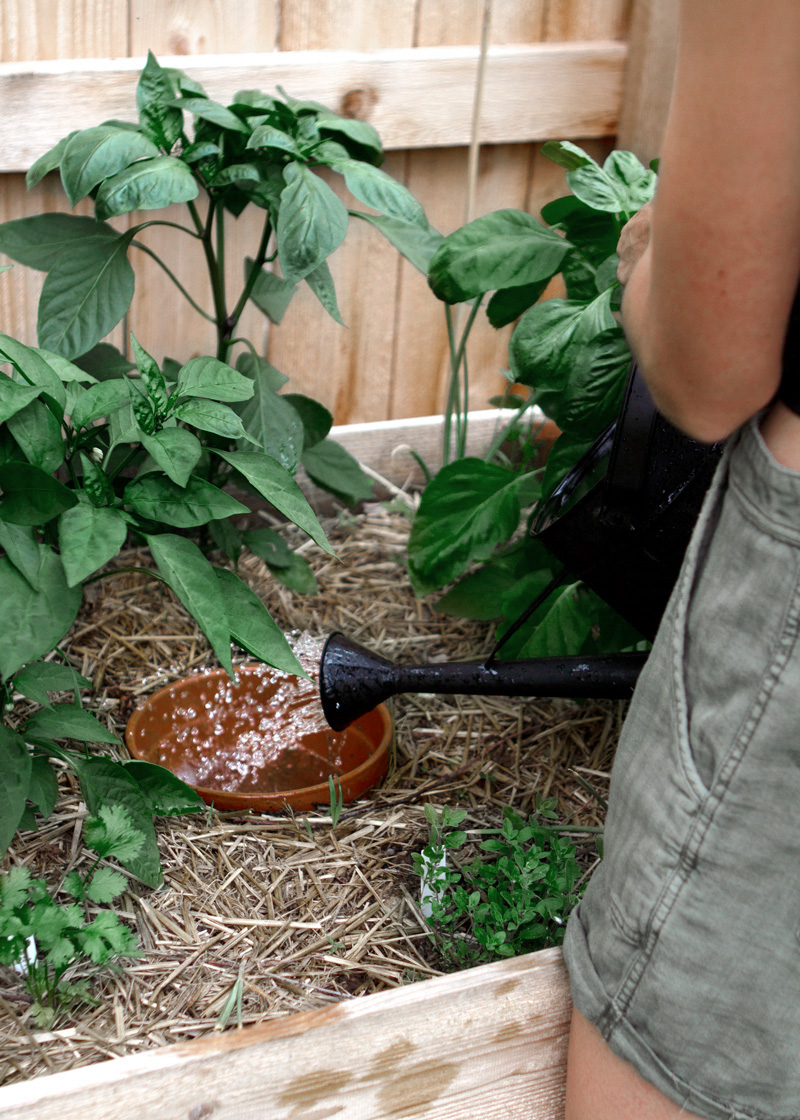
Olla irrigation is a time, energy, and water-saving system for the garden that dates back thousands of years. Ollas were used during a time when watering meant hauling water in vessels. Anthropologists have been digging up unglazed clay pots in long-forgotten ancient garden sites, from China to South America. Ollas were a solution to many water issues in early civilization and they continue to be a beneficial irrigation system anyone can use.
Olla
oi-yah
An unglazed earthenware pot, buried to provide slow steady irrigation.
Benefits of
Olla Irrigation
• Water conservation. They save between 50%-70% in water use.
• Inexpensive. You don’t need to buy a fancy irrigation system.
• Time-saving. Because ollas seep water as needed you can go days before having to refill them. This means they are perfect for vacations!
• Low-Tech. Again, no need for a fancy system and they are easy to use.
• Environmentally-friendly. Ollas are made of clay.
• Variety of sizes. Ollas can be used in the ground, raised beds, or even large pots because they come in all sorts of sizes.
• Healthier plants. Roots get slow, even watering which results in a healthier, happier plant! Also, the risk of fungal issues on foliage is significantly reduced.
• Prevents soil compaction. The roots get watered instead of the surface of the soil.
• Reduced weed growth. The longer the surface of the soil stays dry the fewer weeds will develop.
• Reusable. Ollas can be reused every year. If there is mineral build up they can be cleaned with a diluted 1:1 vinegar and water solution.
* In climates with deep freezes, ollas risk cracking in the winter. It’s best to remove them in the fall and store them in a dry place.
How Olla
Irrigation Works
The permeable walls of the olla allow for water to dissipate into the soil as needed. The pores of clay pots are so small that water does not freely flow out of the pot, but rather a suction force is created by soil moisture tension as well as plant roots. If the soil is dry, the water will be “pulled” out and released faster. If there is a saturating rainfall the water will remain in the olla until the surrounding soil dries. Therefore, olla irrigation is extremely water efficient and prevents excessive evaporation, overwatering, and runoff.
The roots of plants eventually grow toward and around the olla, allowing for even and consistent watering. This reduces the amount of stress they endure enabling them to live and produce longer. Watering this way promotes dense root growth which facilitates more efficient nutrient and water uptake.
Homemade Ollas
using Terracotta Pots
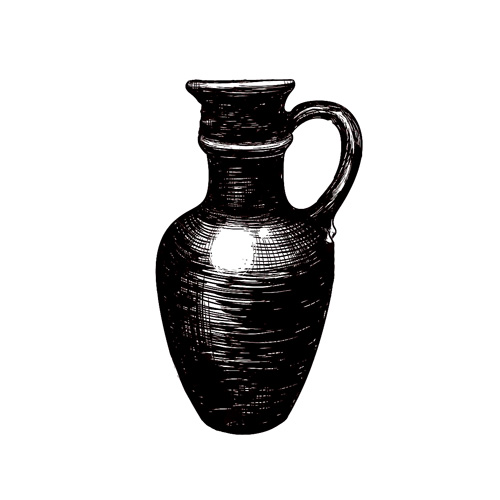
Original ollas were bulbous vessels with narrow necks, but unglazed terracotta pots will work just as well! This is a simple low-tech adaptation.
Affiliate Disclaimer
This website is supported by its audience and contains affiliate links. An affiliate link means I may earn advertising or referral fees at no extra cost to you if you make a purchase through these links. (read more)
Step 1: Plug the Drainage Hole
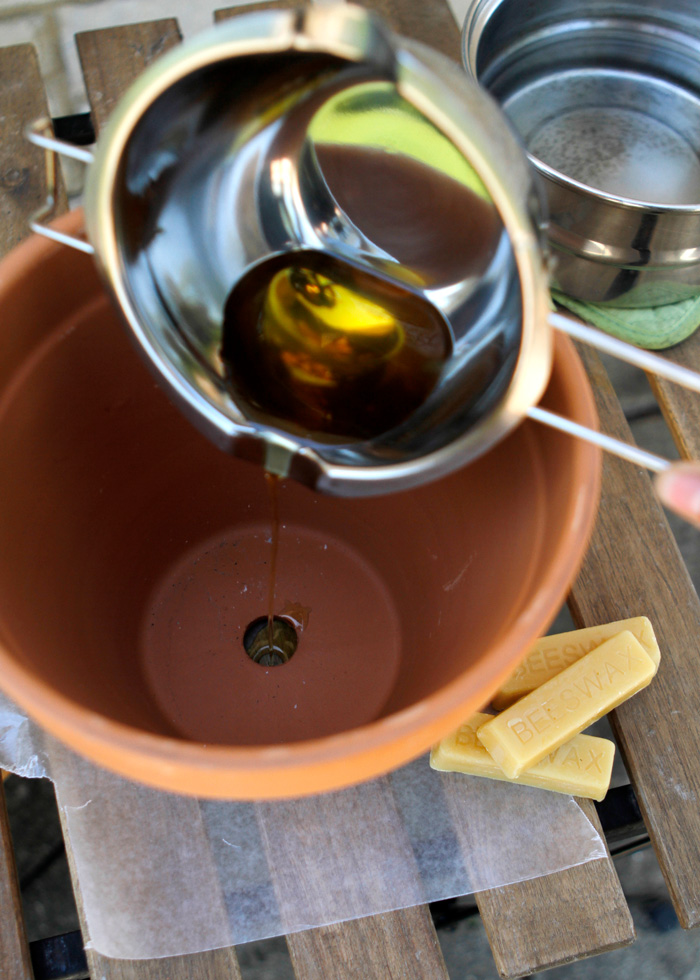
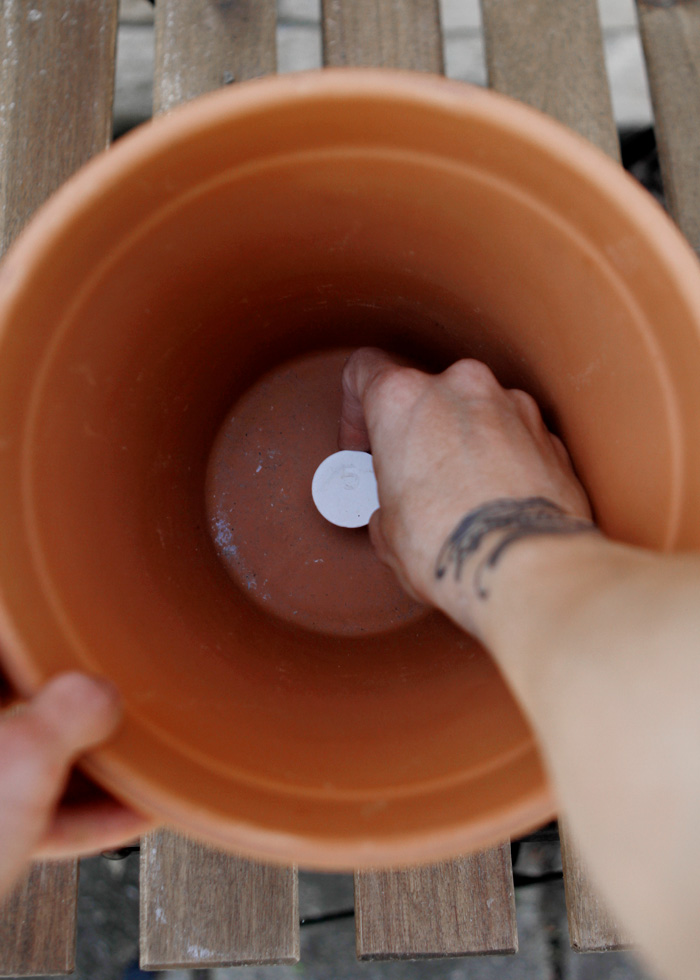
Here are four ways you can plug the drainage hole of a terracotta pot. Starting with my number one recommendation, beeswax:
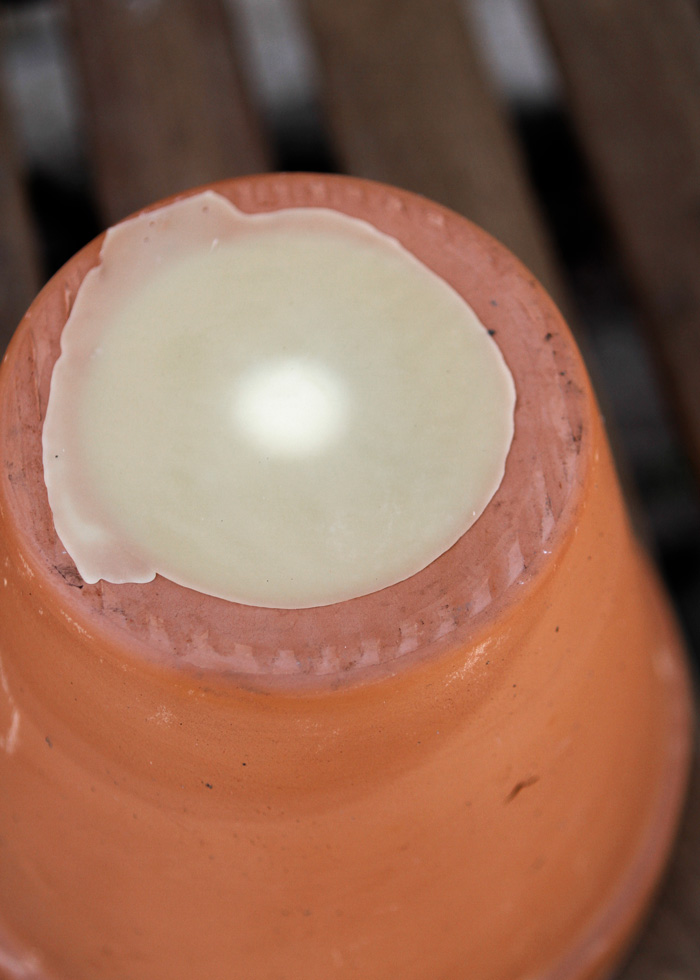
BEESWAX
Although a little time-consuming and messy, I would have to say that beeswax has been my most successful non-permanent way to plug the drainage holes in terracotta pots. It’s easy to remove causing no damage if you decide to revert the pot back to a planter. Not to mention it’s the most earth-friendly option. Make sure your pot is dry before pouring the beeswax.
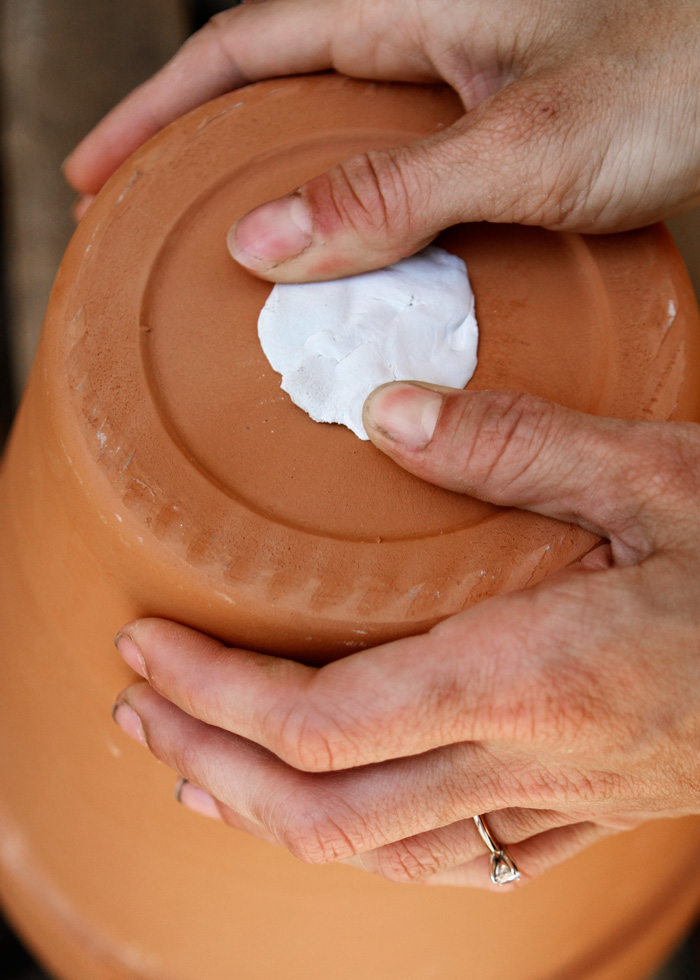
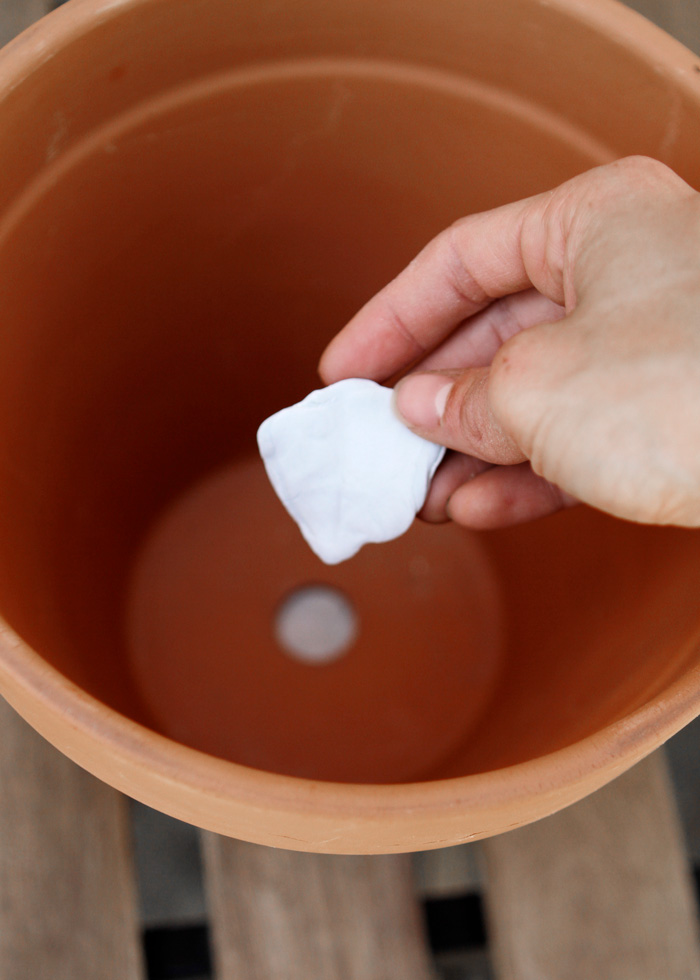
NO-TOX PUTTY
This is a faster method. Use non-toxic putty to close the drainage hole. Apply a layer to the bottom and the inside. If you go this route, make sure the pot is dry before applying the putty.
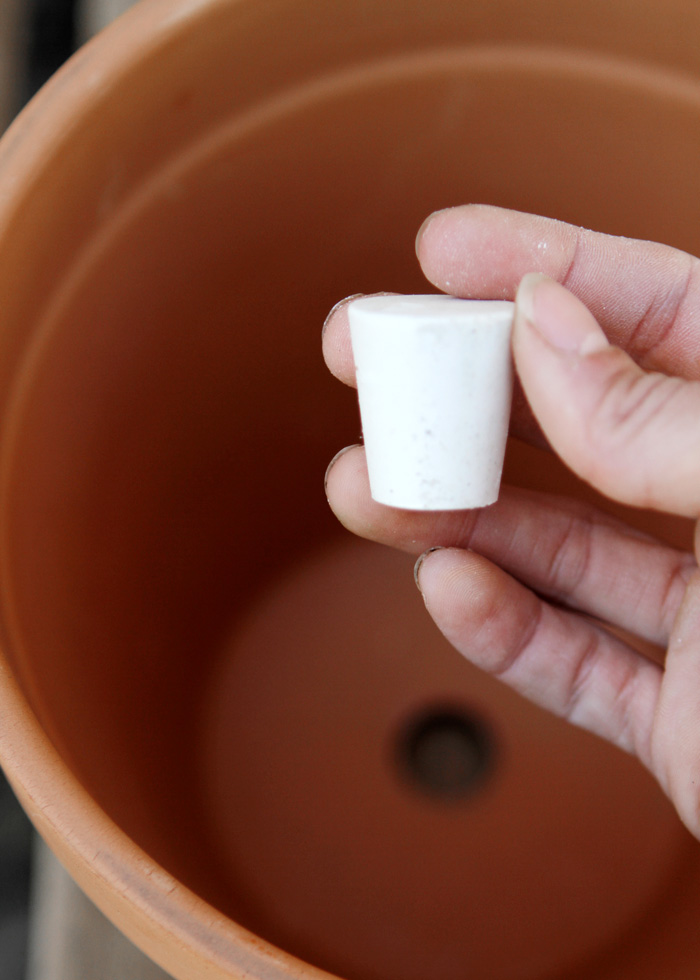
PLUG / CORK
This is the quickest way to plug the hole. The trickiest part of this method is finding plugs or corks that are the right size.
CEMENT
For a permanent but foolproof method use cement. Create your own mixture with a cement kit and pour a 1/2″ layer into the bottom of the pot. I wanted the option to revert my pots back to planters so I did not go down this route, but I have seen this work great for others!
Step 2: Bury the Pot
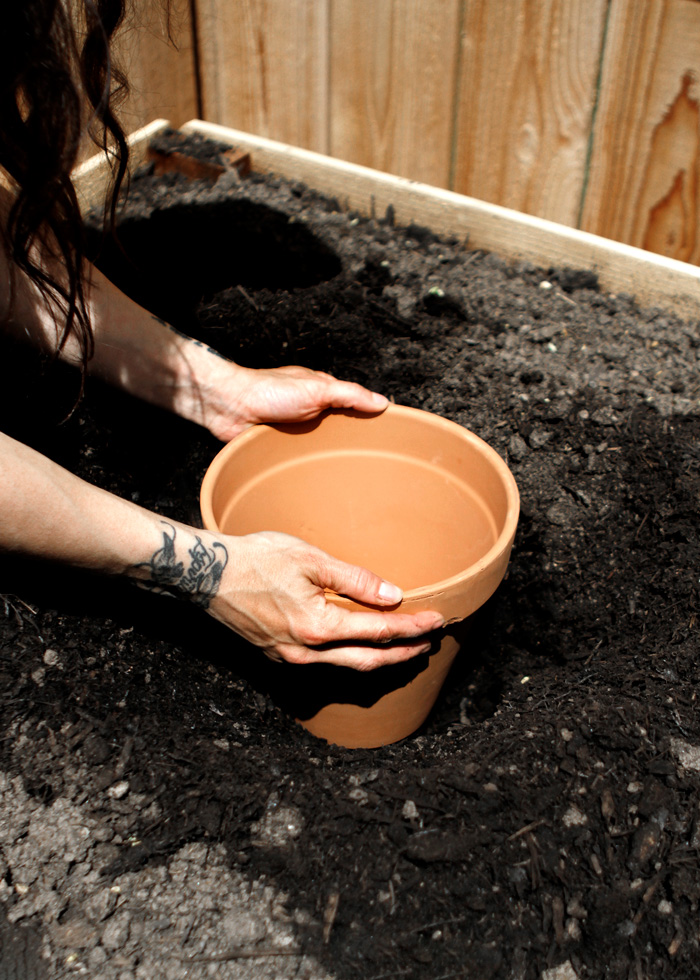
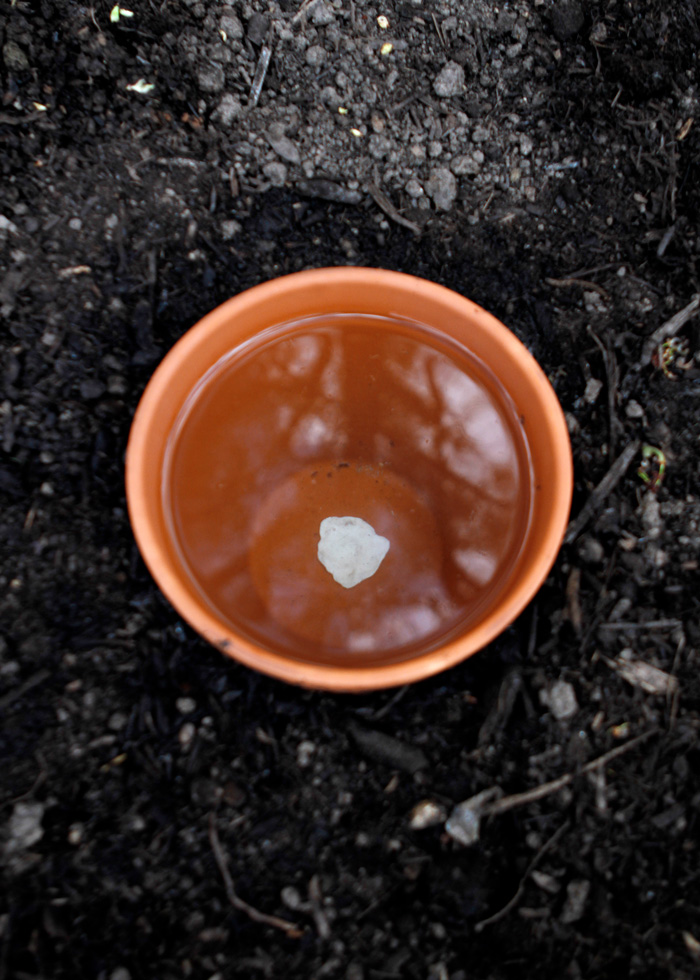
Dig a hole and bury the pot up until you meet the beginning of the rim.
Step 3: Plant and Fill
Plant seeds or transplants 4-12″ from the pot. For the first few weeks after planting it’s best to hand-water the plants while the roots grow toward the water source. Once the plants are established you can rely entirely on the ollas to do their job.
Step 4: Cover the Pot
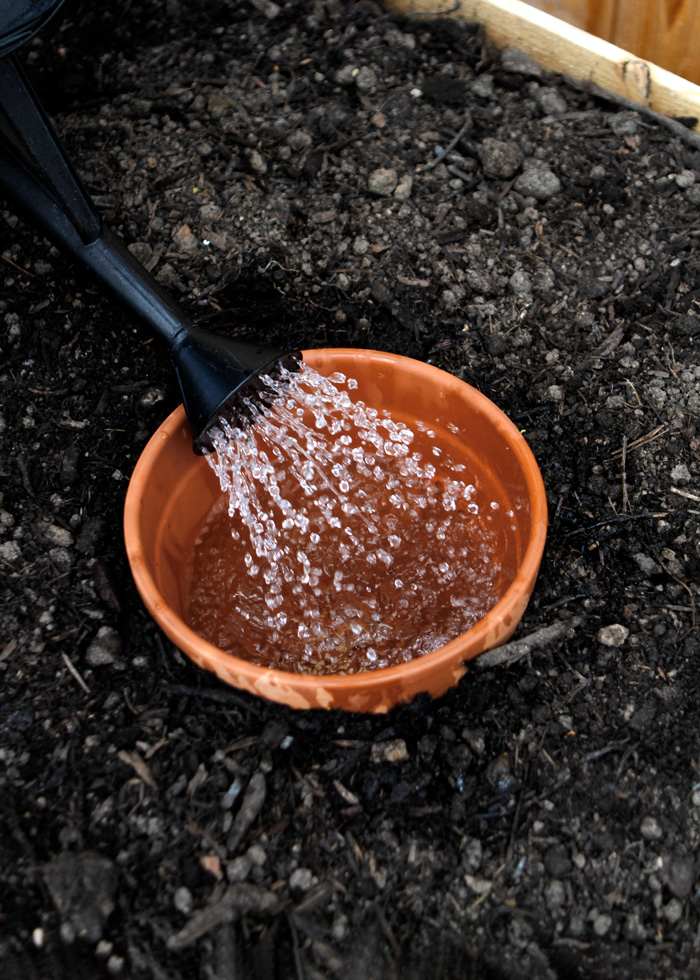
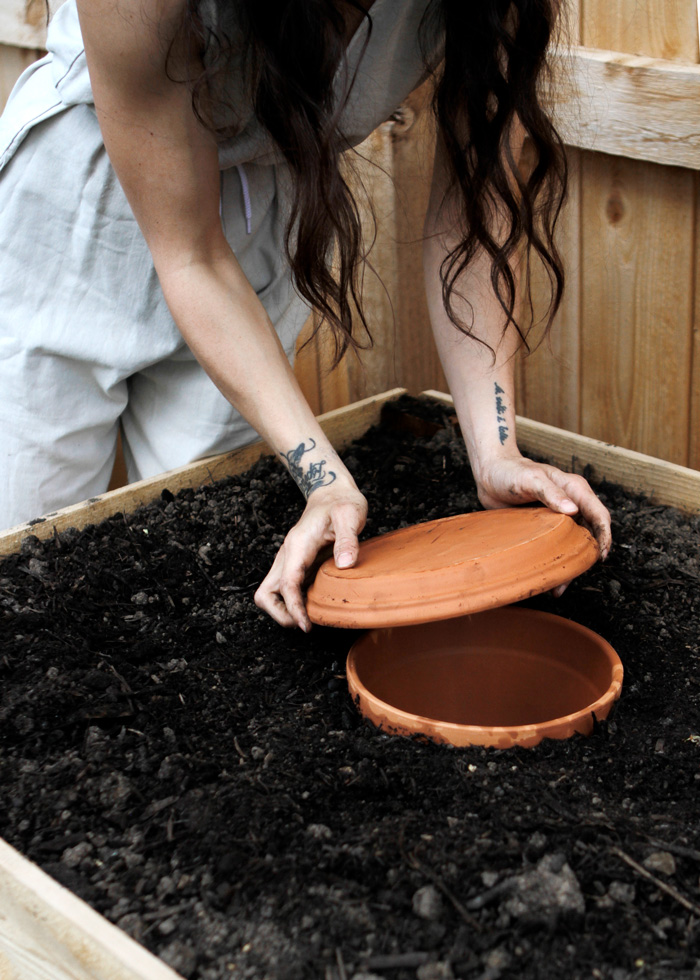
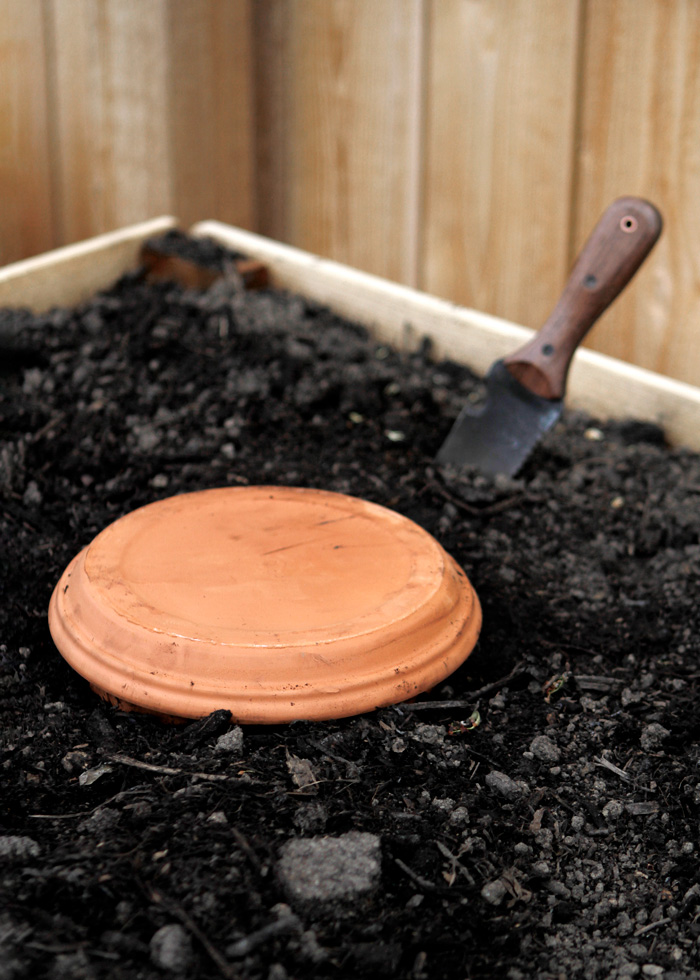
If you leave the pot uncovered it can become a breeding ground for mosquitos. On top of that, water will easily evaporate. Use a saucer that fits snug over the opening. You could attach an exterior knob to the center of the saucer if you’d like a handle to easily remove the lid.
SOURCES
⊙



I have never heard of this. I am going to have some raised beds this year and am super excited to try this.